Online manual

Hang your ShirtFrame in 10 easy steps

Use this online manual to easily assemble and hang your ShirtFrame step by step.

Your shirt, your story!

Thank you for your order!

We think it’s amazing that your shirt is getting a special place.
Whether it’s a sports moment, memory or achievement,
it deserves to be displayed.

We hope you enjoy framing it and
look forward to seeing your final result!

Greetings Steffan & Janco

Before you start

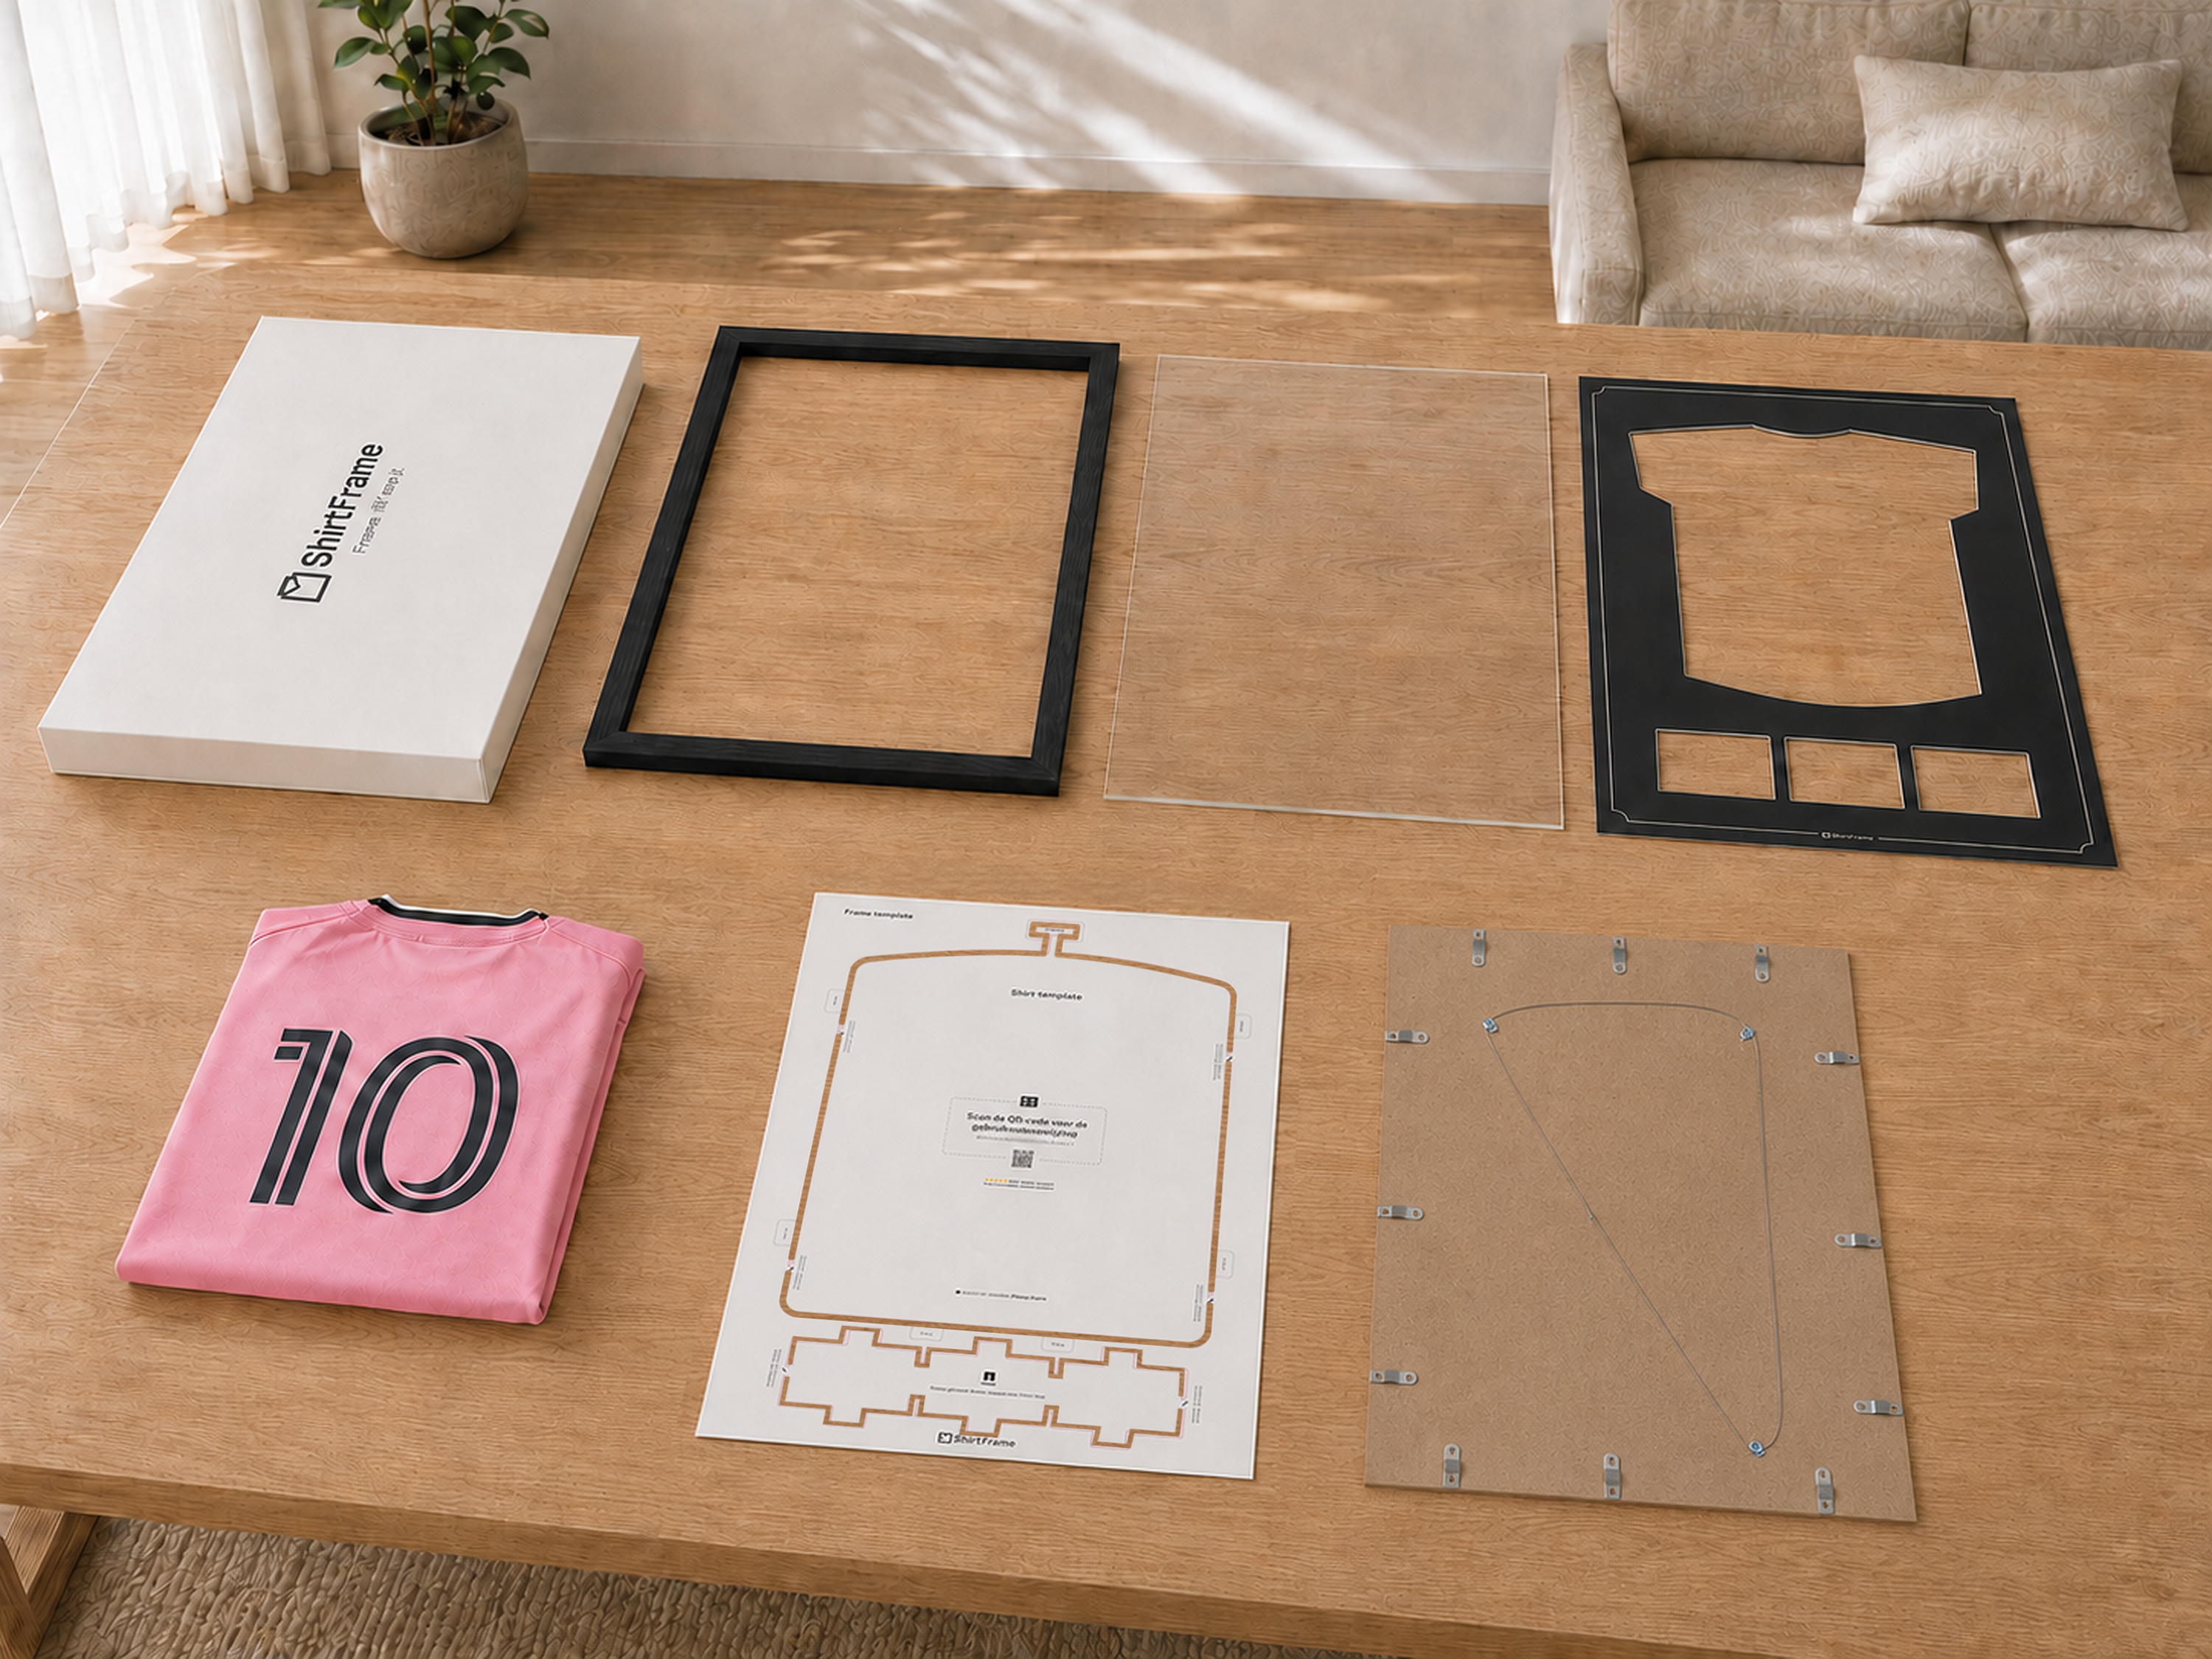
First check the contents of the package

1
  • 1 × Luxury wooden frame
  • 1 × Crystal-clear acrylic glass
  • 1 × passe-partout
  • 1 × Shirt/singlet-template + frame-template
  • 1 × Back panel
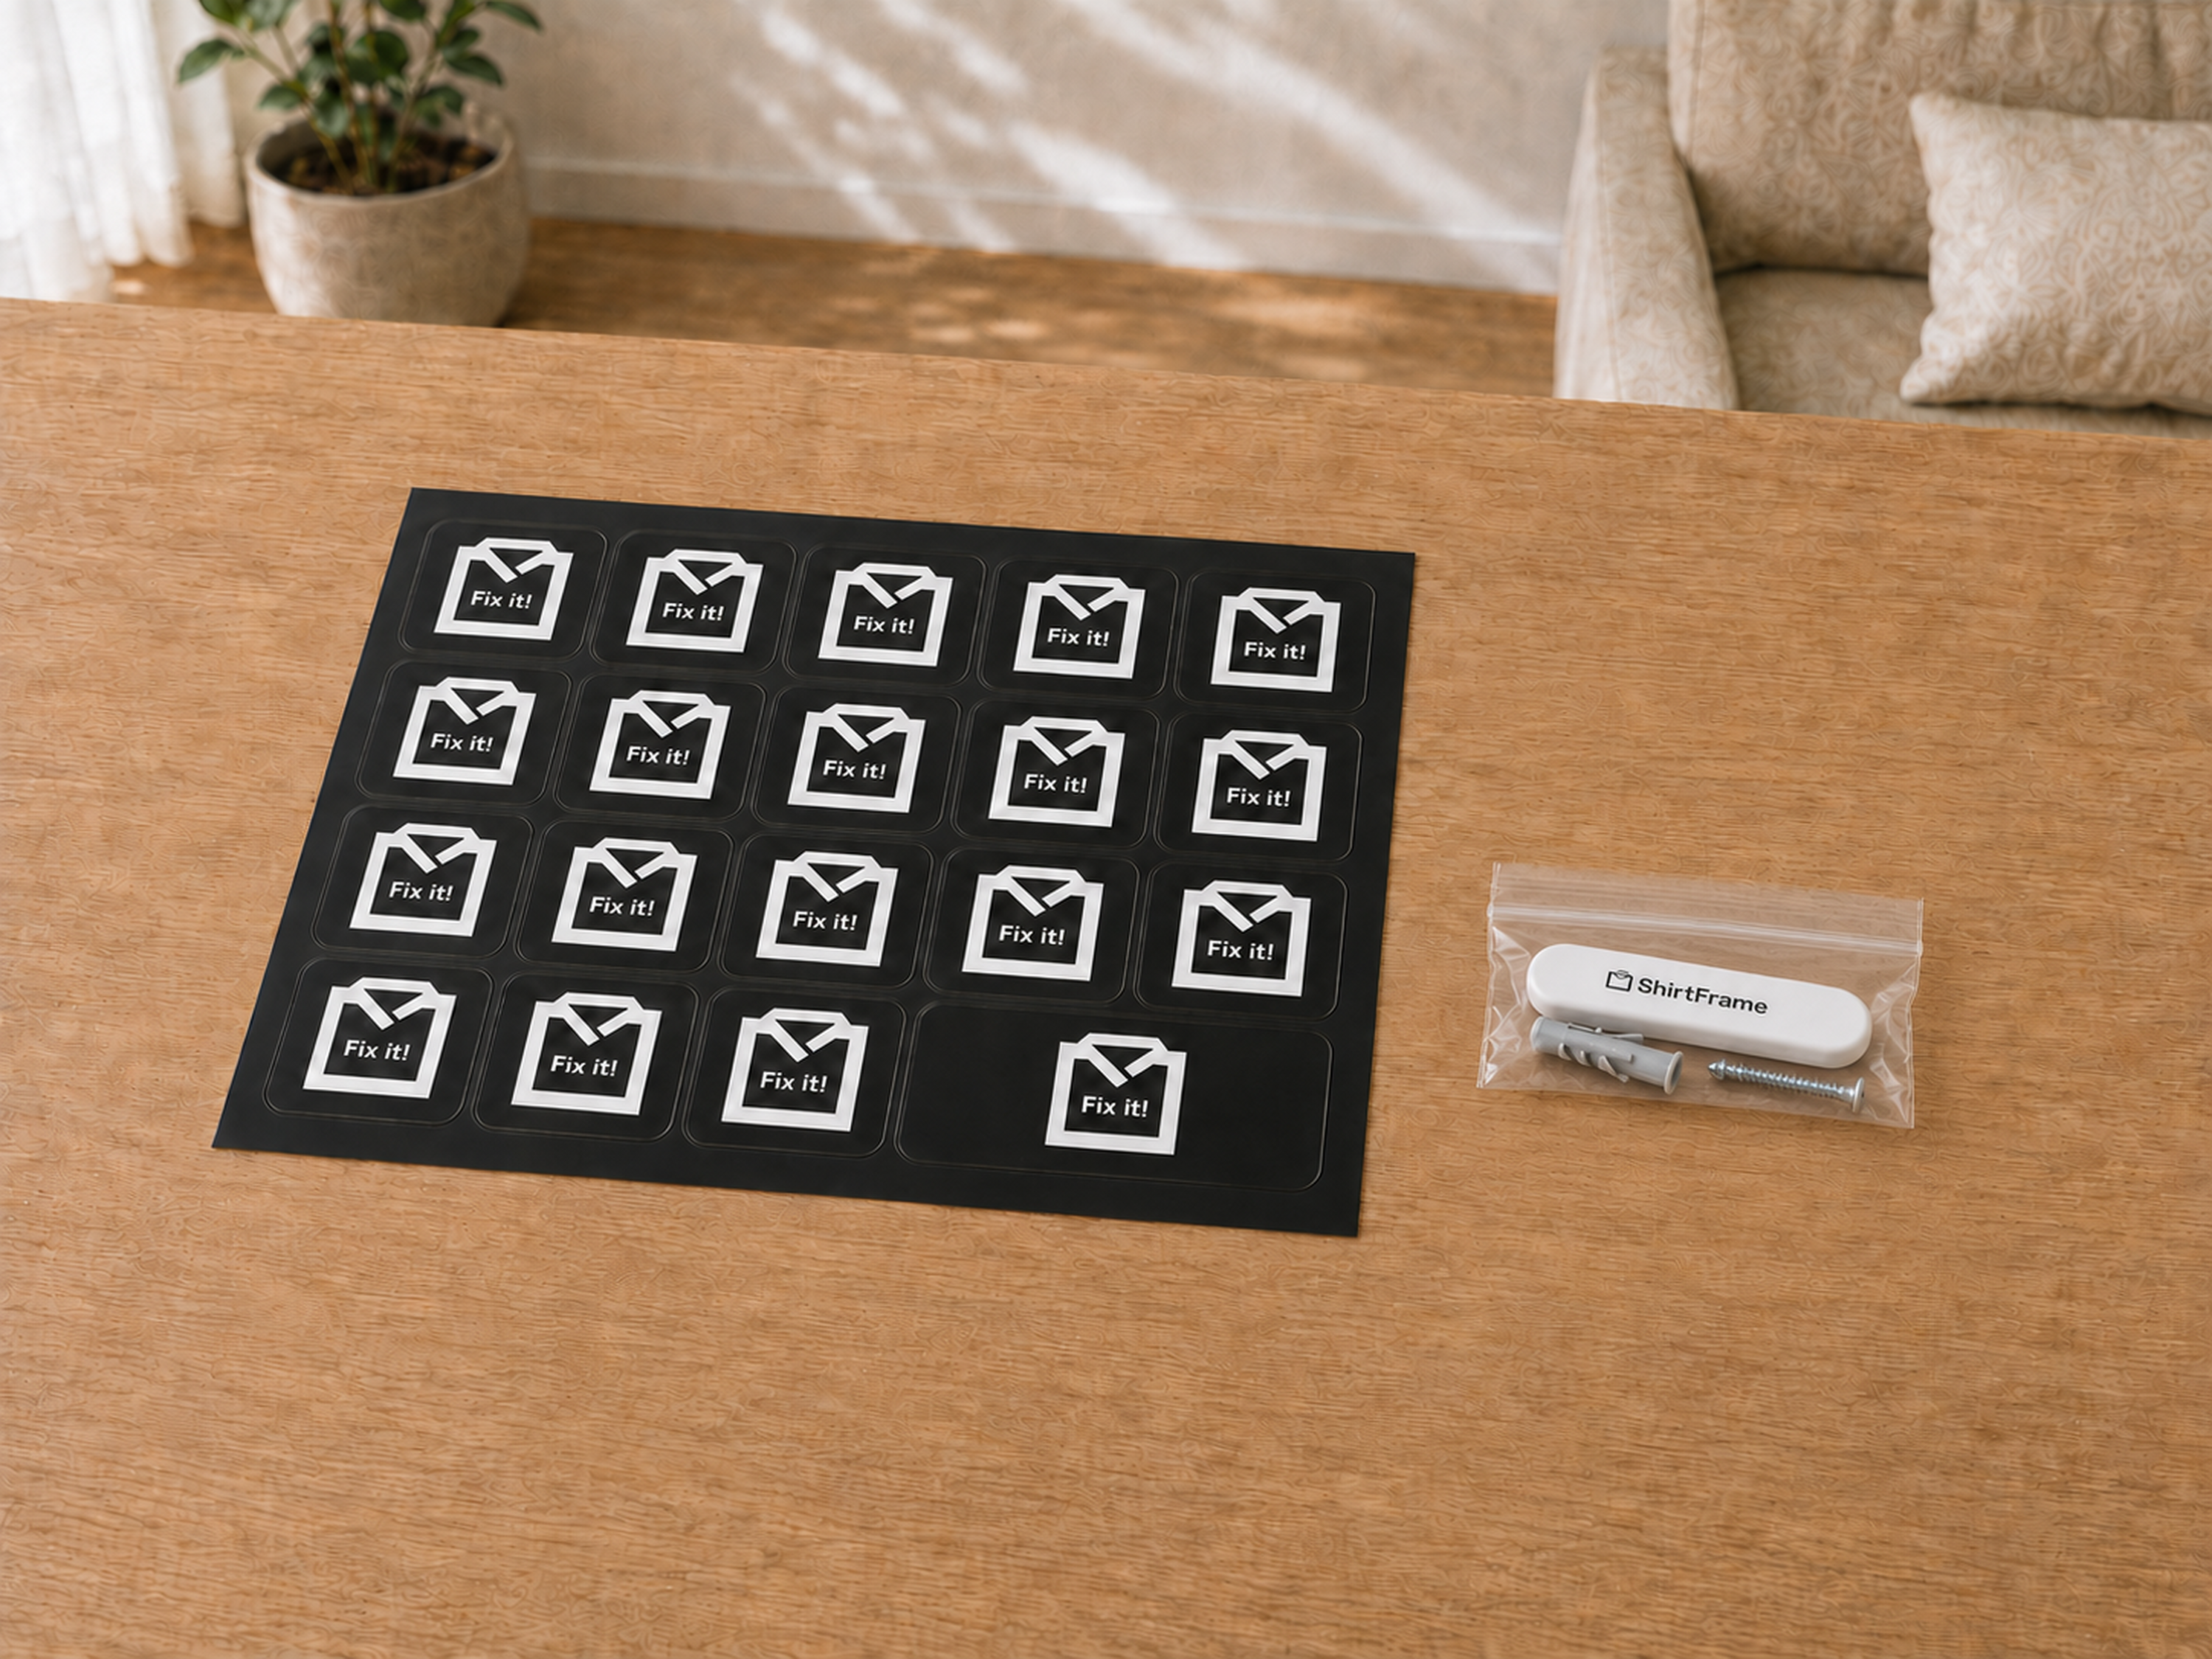
  • 1 × Fix it! sticker sheet
  • 1 × Wall plug & screw
  • 1 × ShirtFrame knife
Contents of the ShirtFrame package Included parts and mounting materials

Step by step

How to assemble your ShirtFrame

2

Insert the acrylic glass and passe-partout

Remove the protective film from both sides of the acrylic glass and place the glass into the frame. It is possible that the mountboard has become slightly dusty during processing; if necessary, wipe it gently with a soft, dry cloth. Then place the mountboard into the frame with the front side facing the acrylic glass.
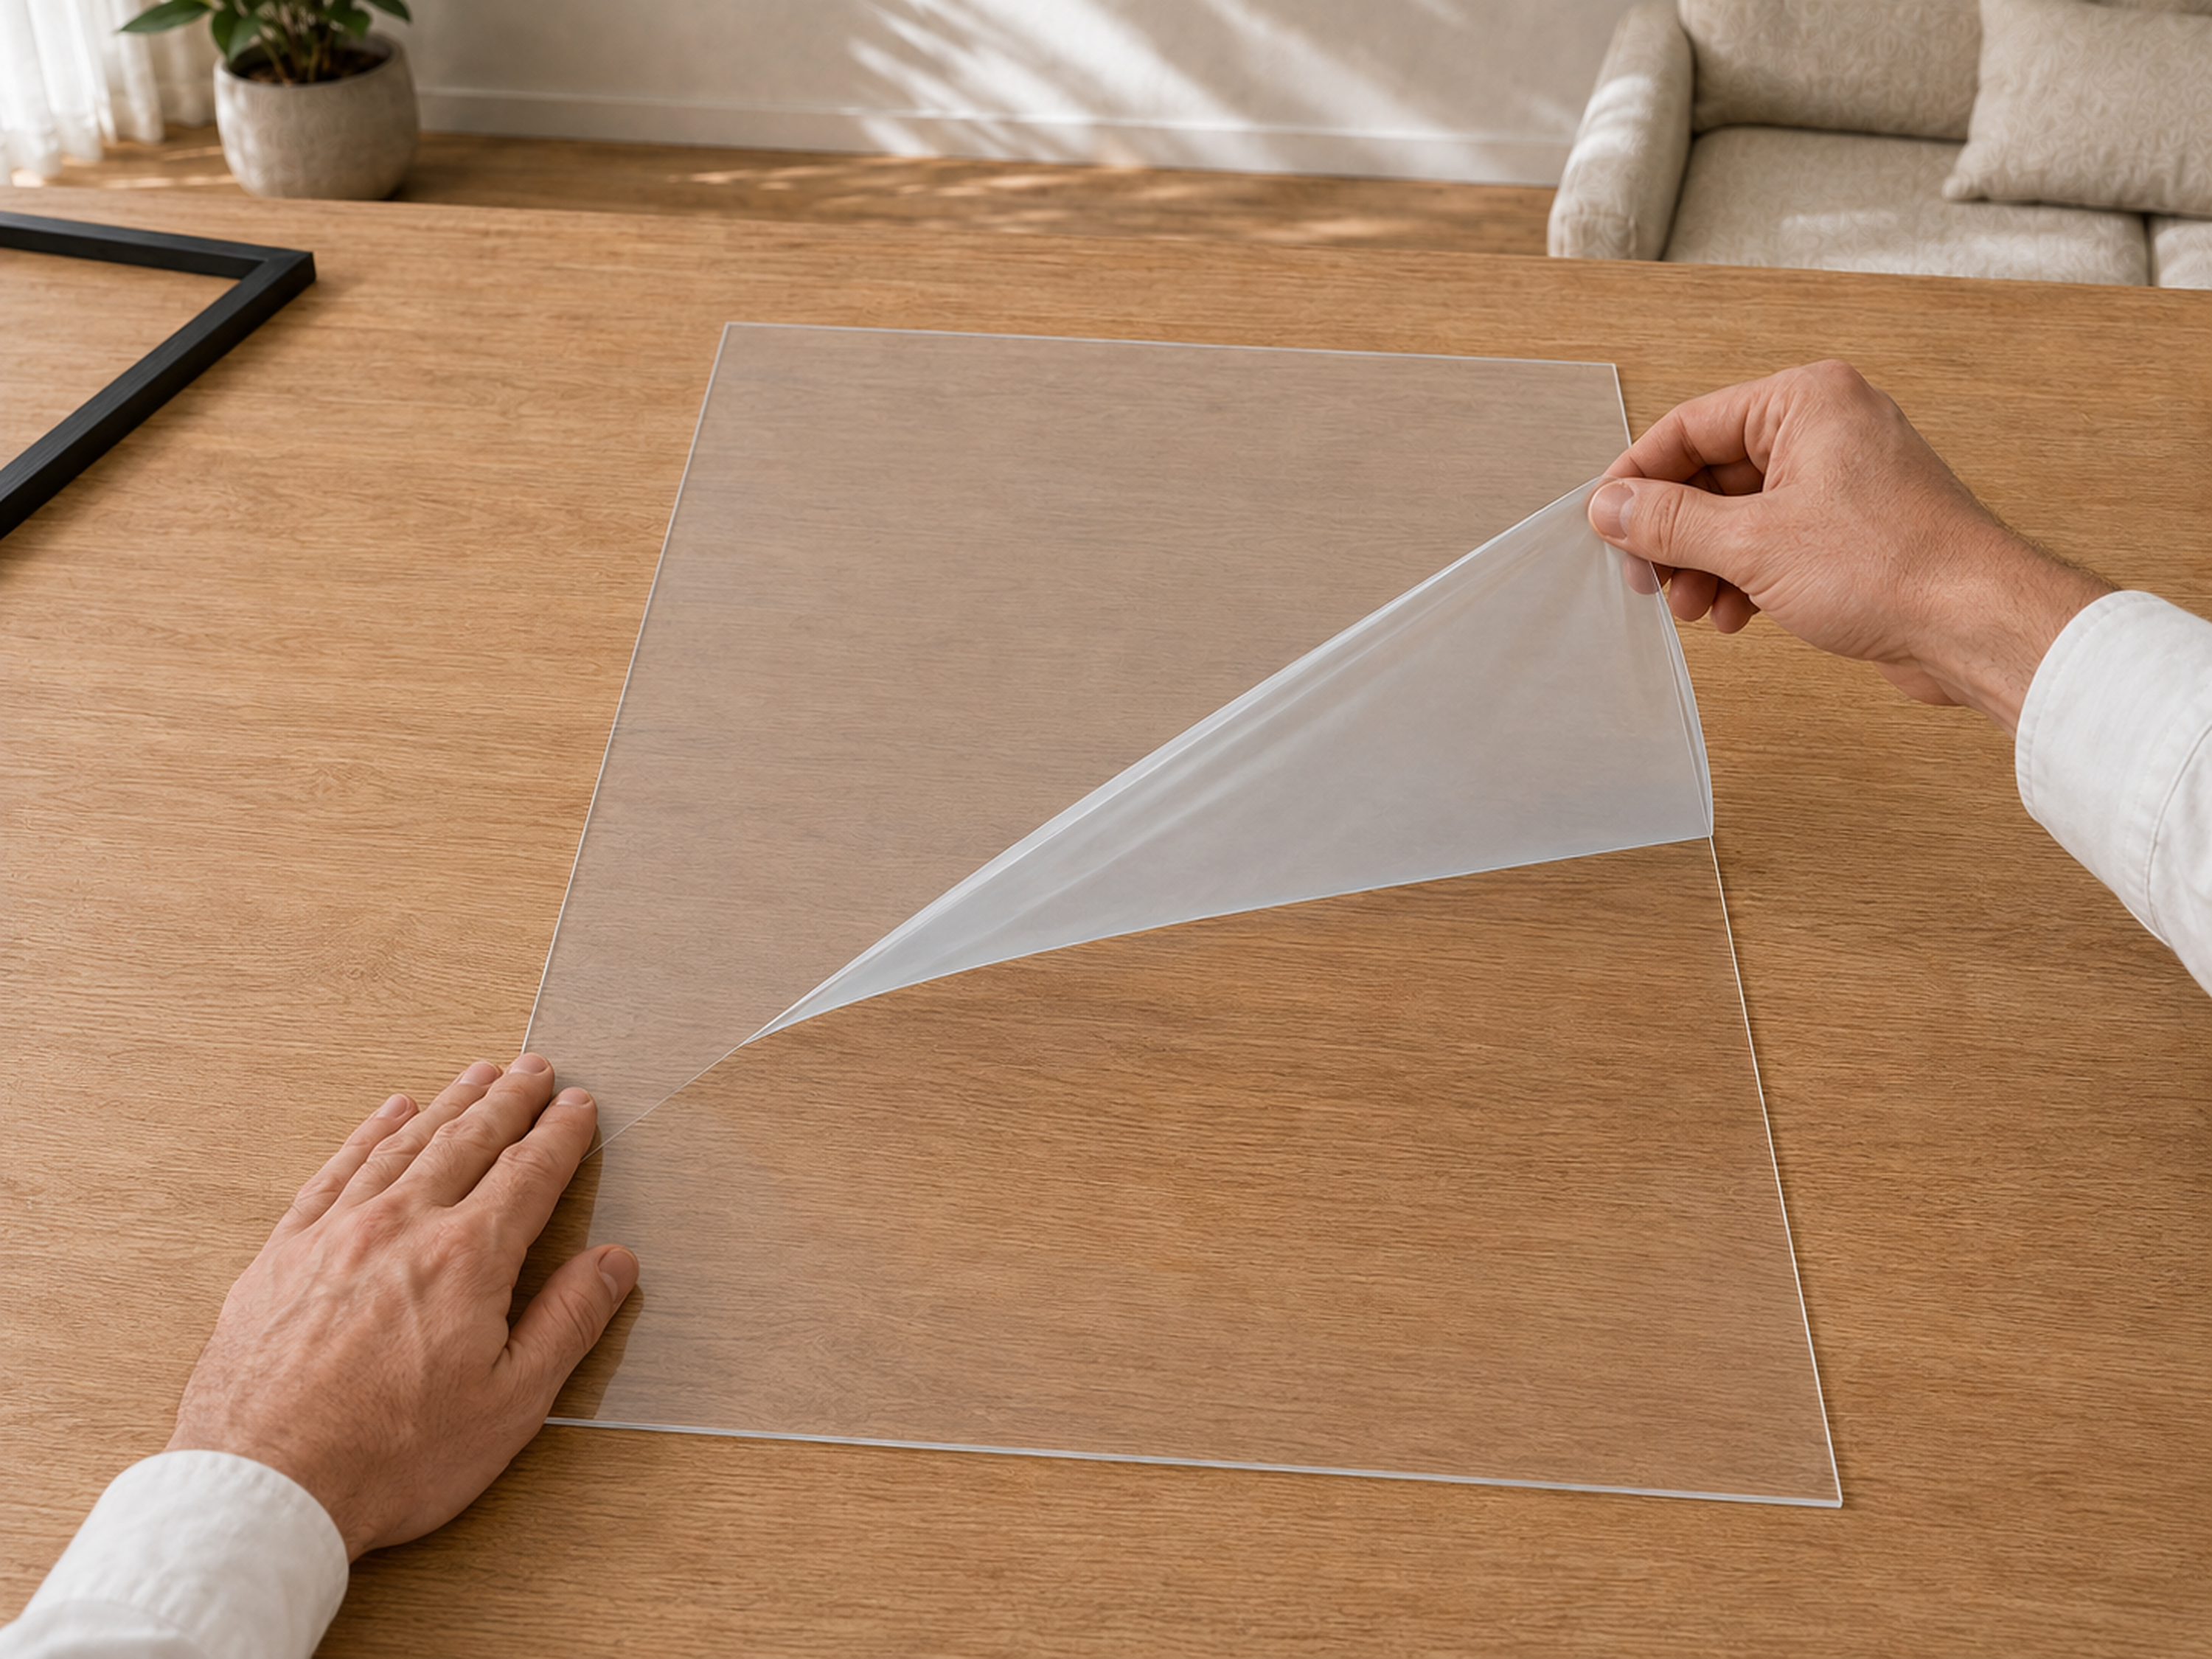
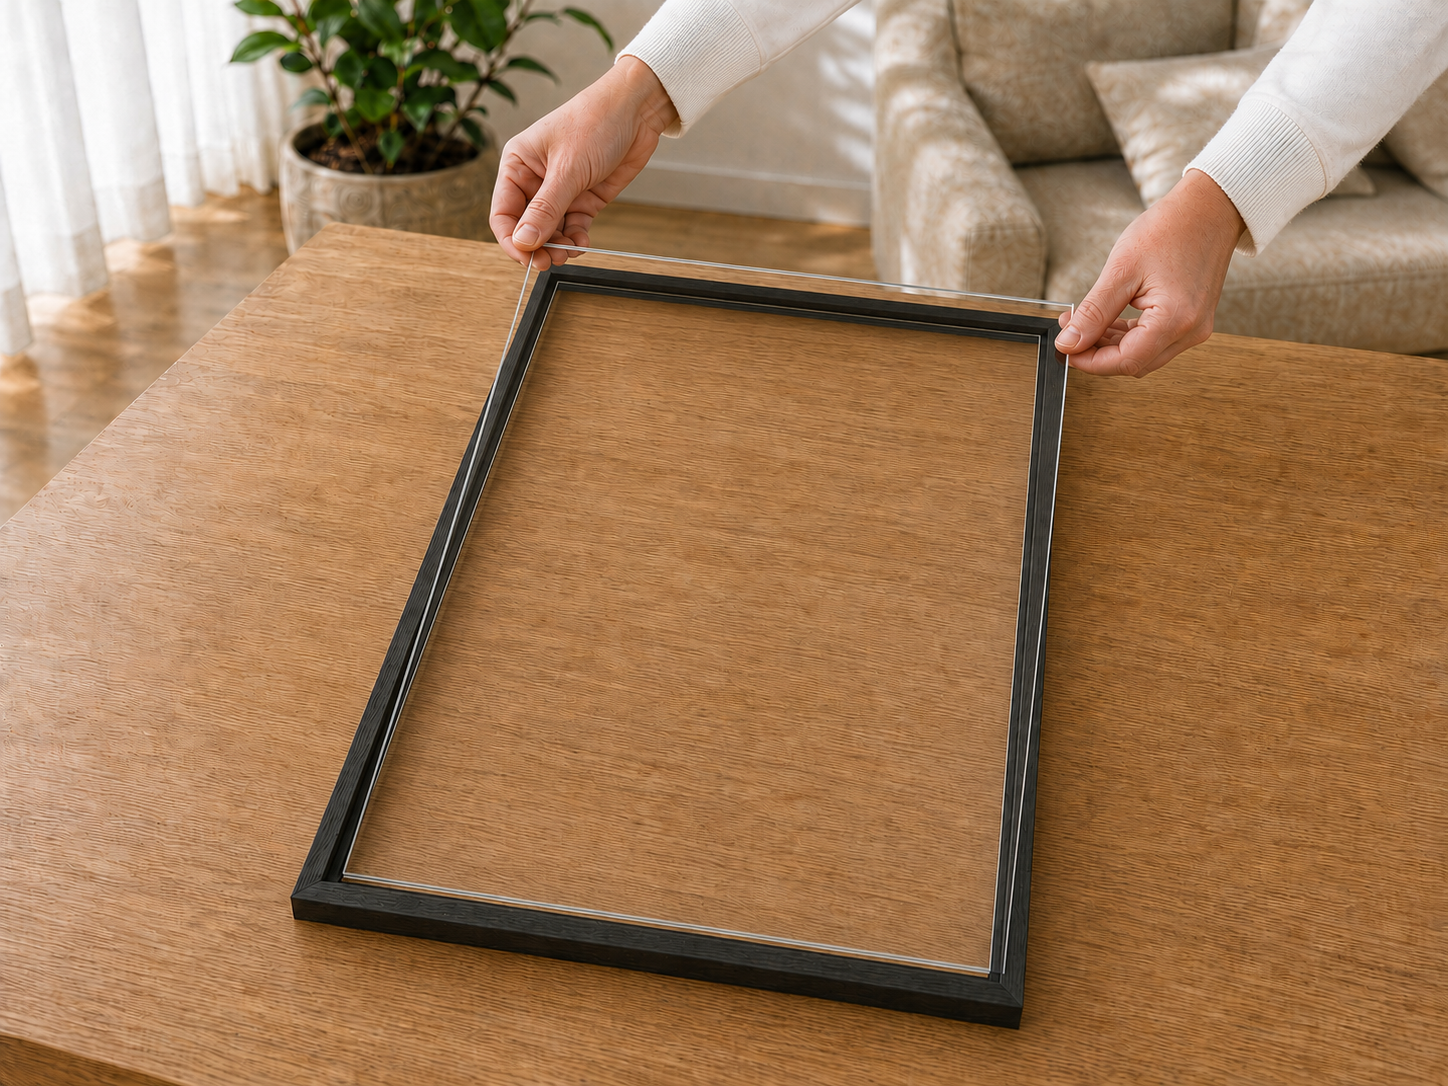
Removing the protective film from the acrylic glass Placing the acrylic glass and passe-partout into the frame
3

Optionally add photos to the passe-partout

Do you have a passe-partout with photo cut-outs (modern or classic version)? Carefully cut out the photo openings first using the included ShirtFrame knife along the indicated cutting lines.

Do you have a personalized or custom ShirtFrame? Then you can leave these openings closed.

Cutting the photo openings out of the passe-partout
4

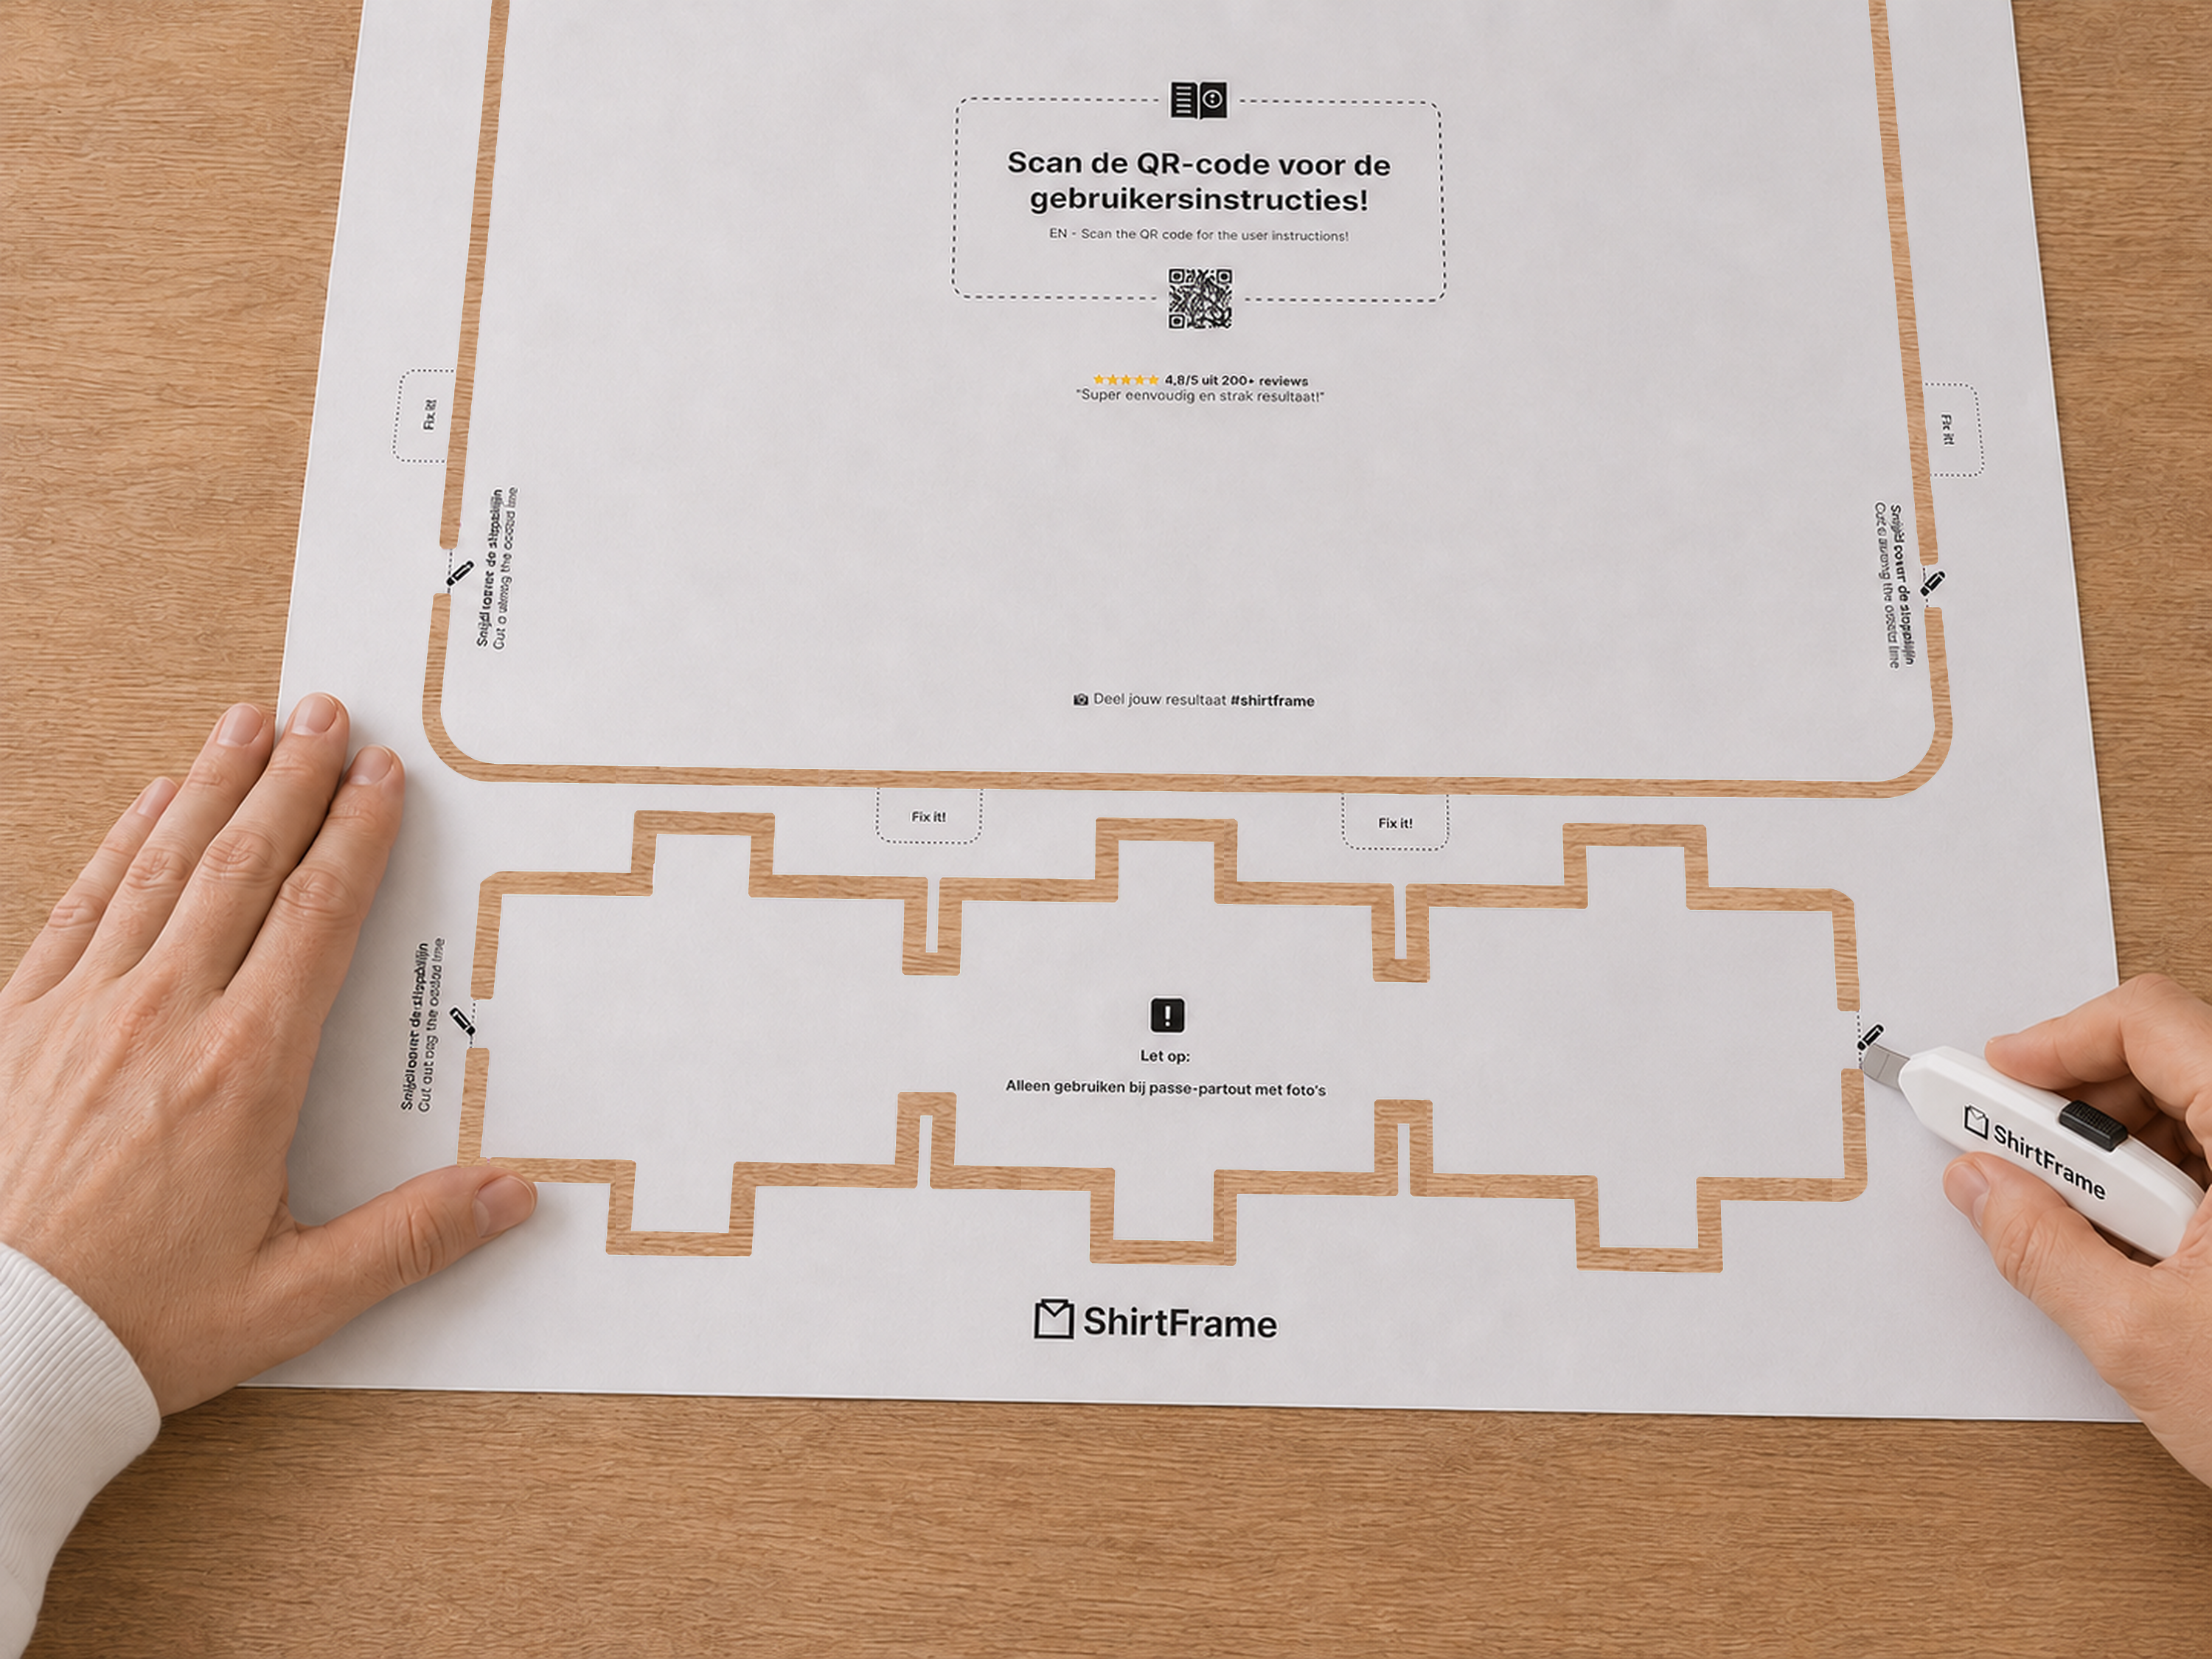
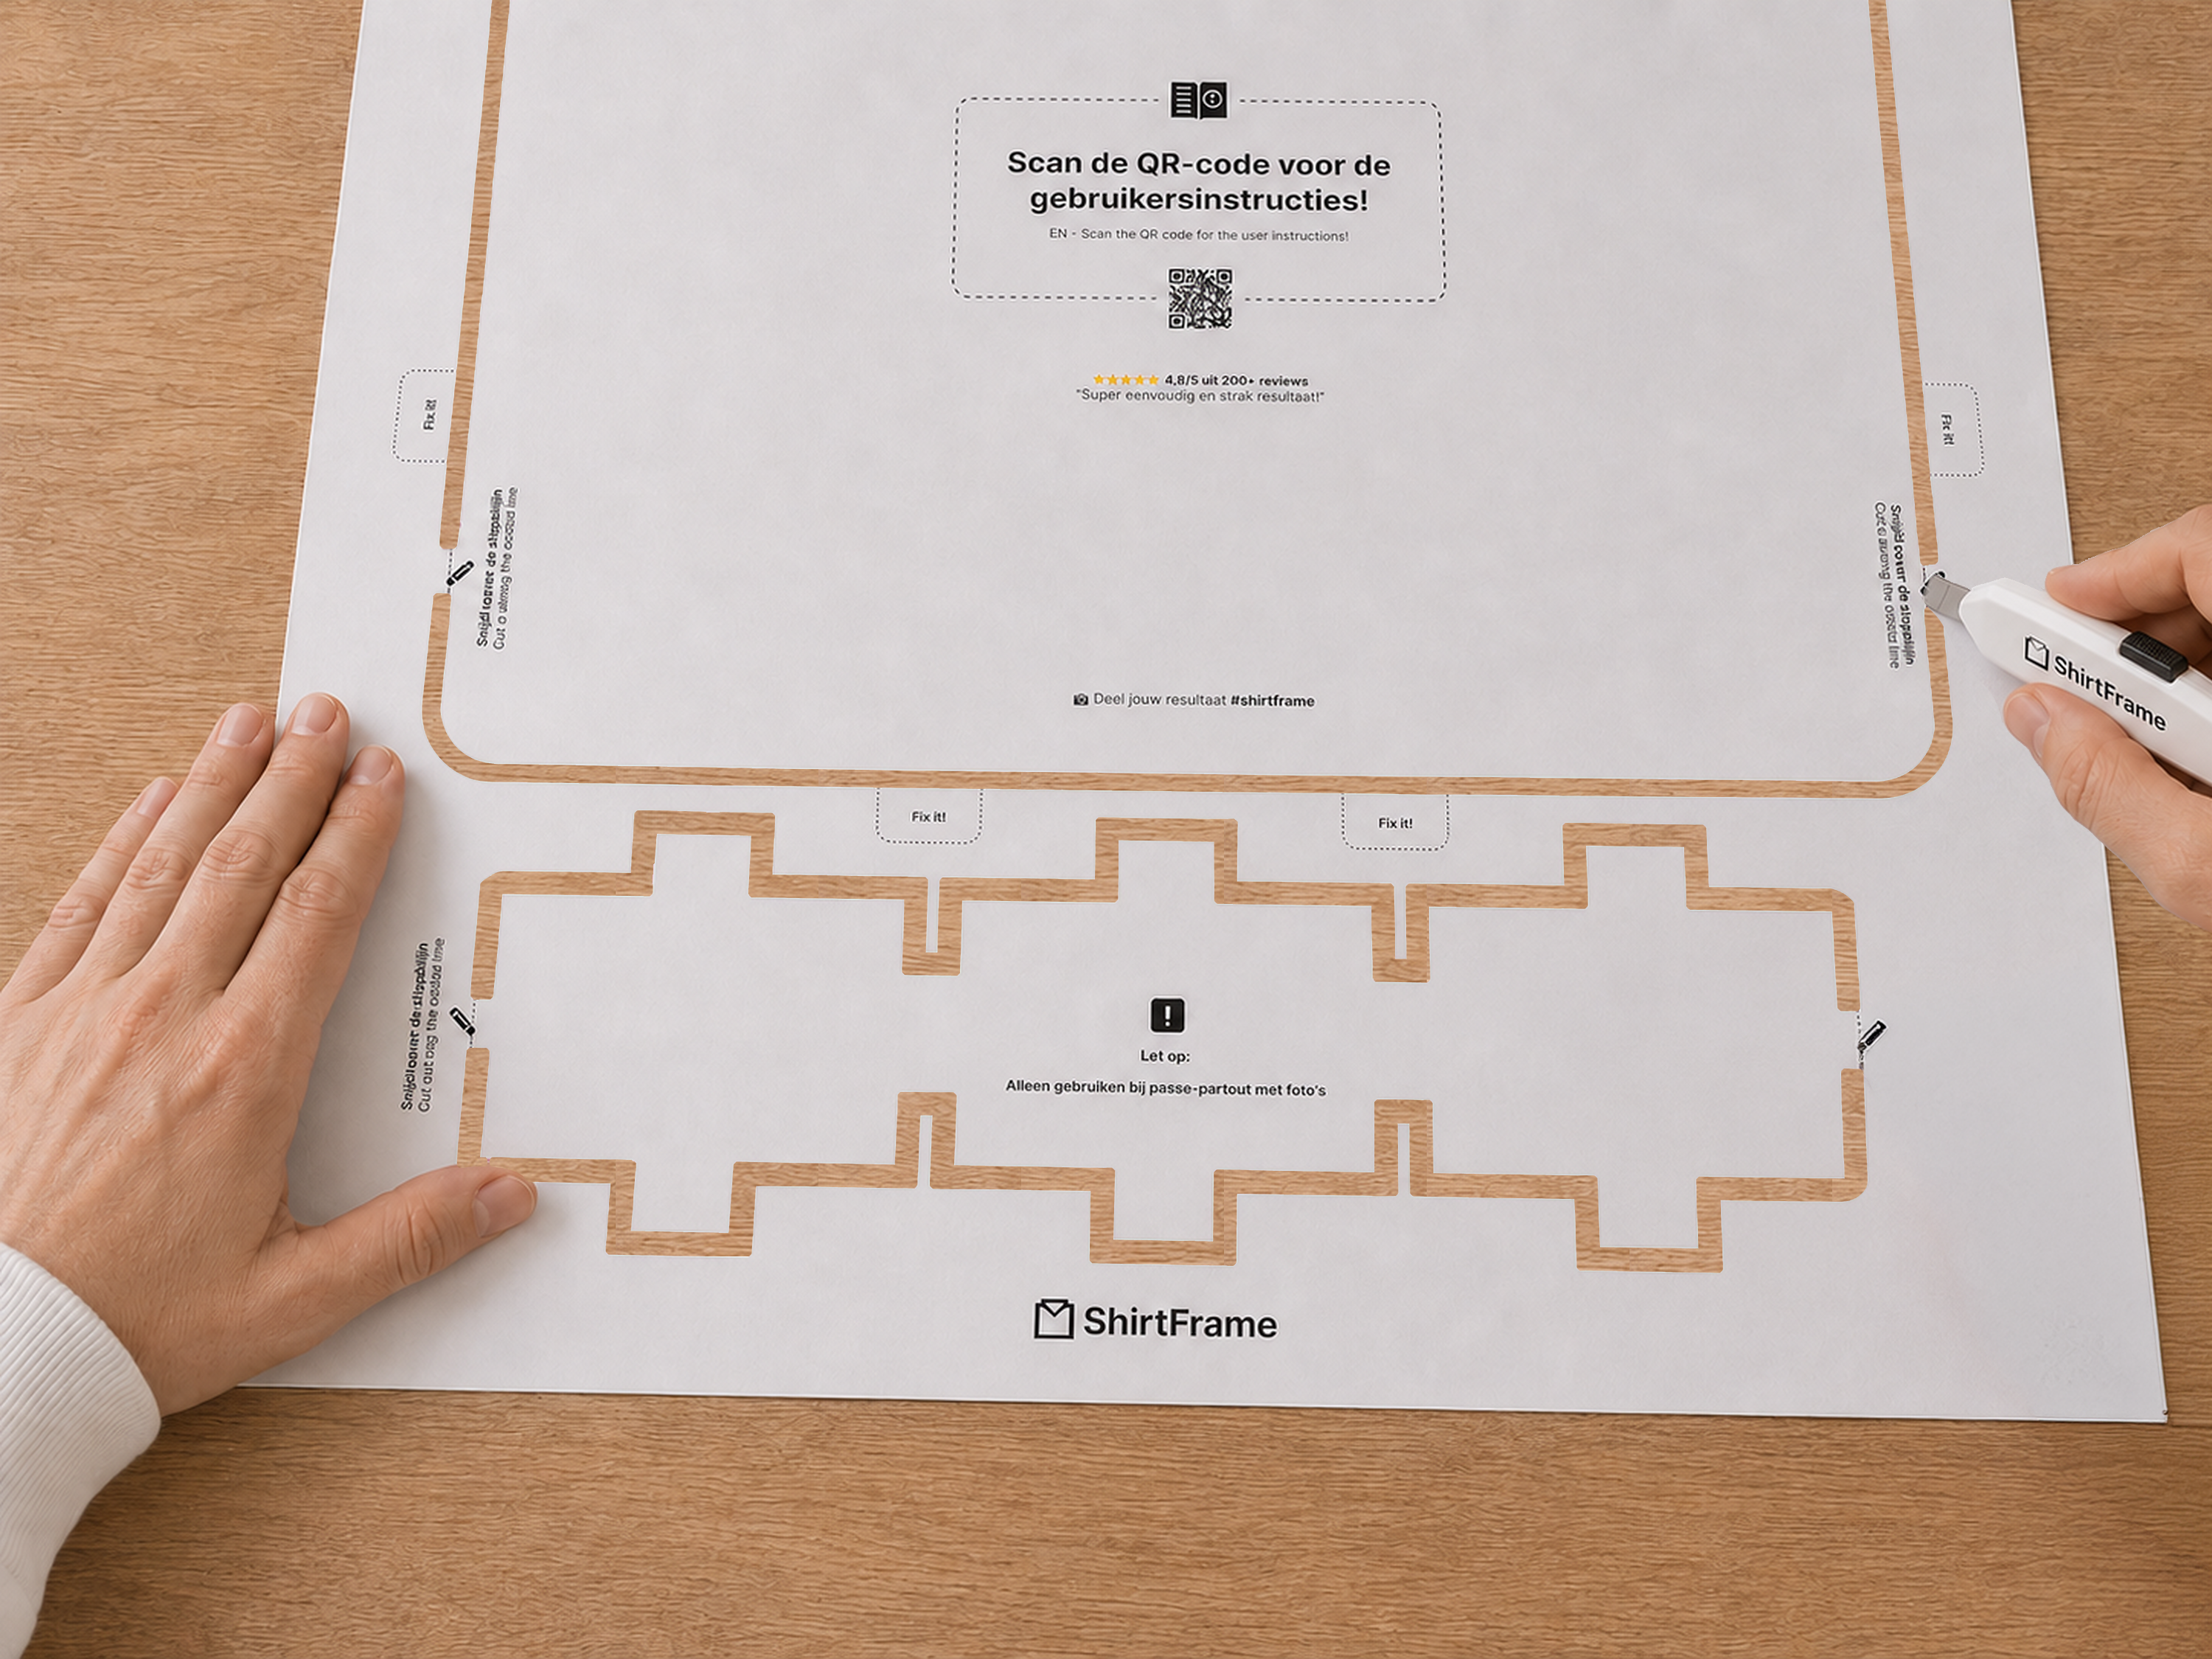
Separate the shirt/singlet template from the frame template

Using the included ShirtFrame knife, carefully cut the shirt/singlet template loose from the frame template along the indicated cutting lines. Work neatly along the edges so no cardboard residue remains.

Separating the shirt template from the frame template
5

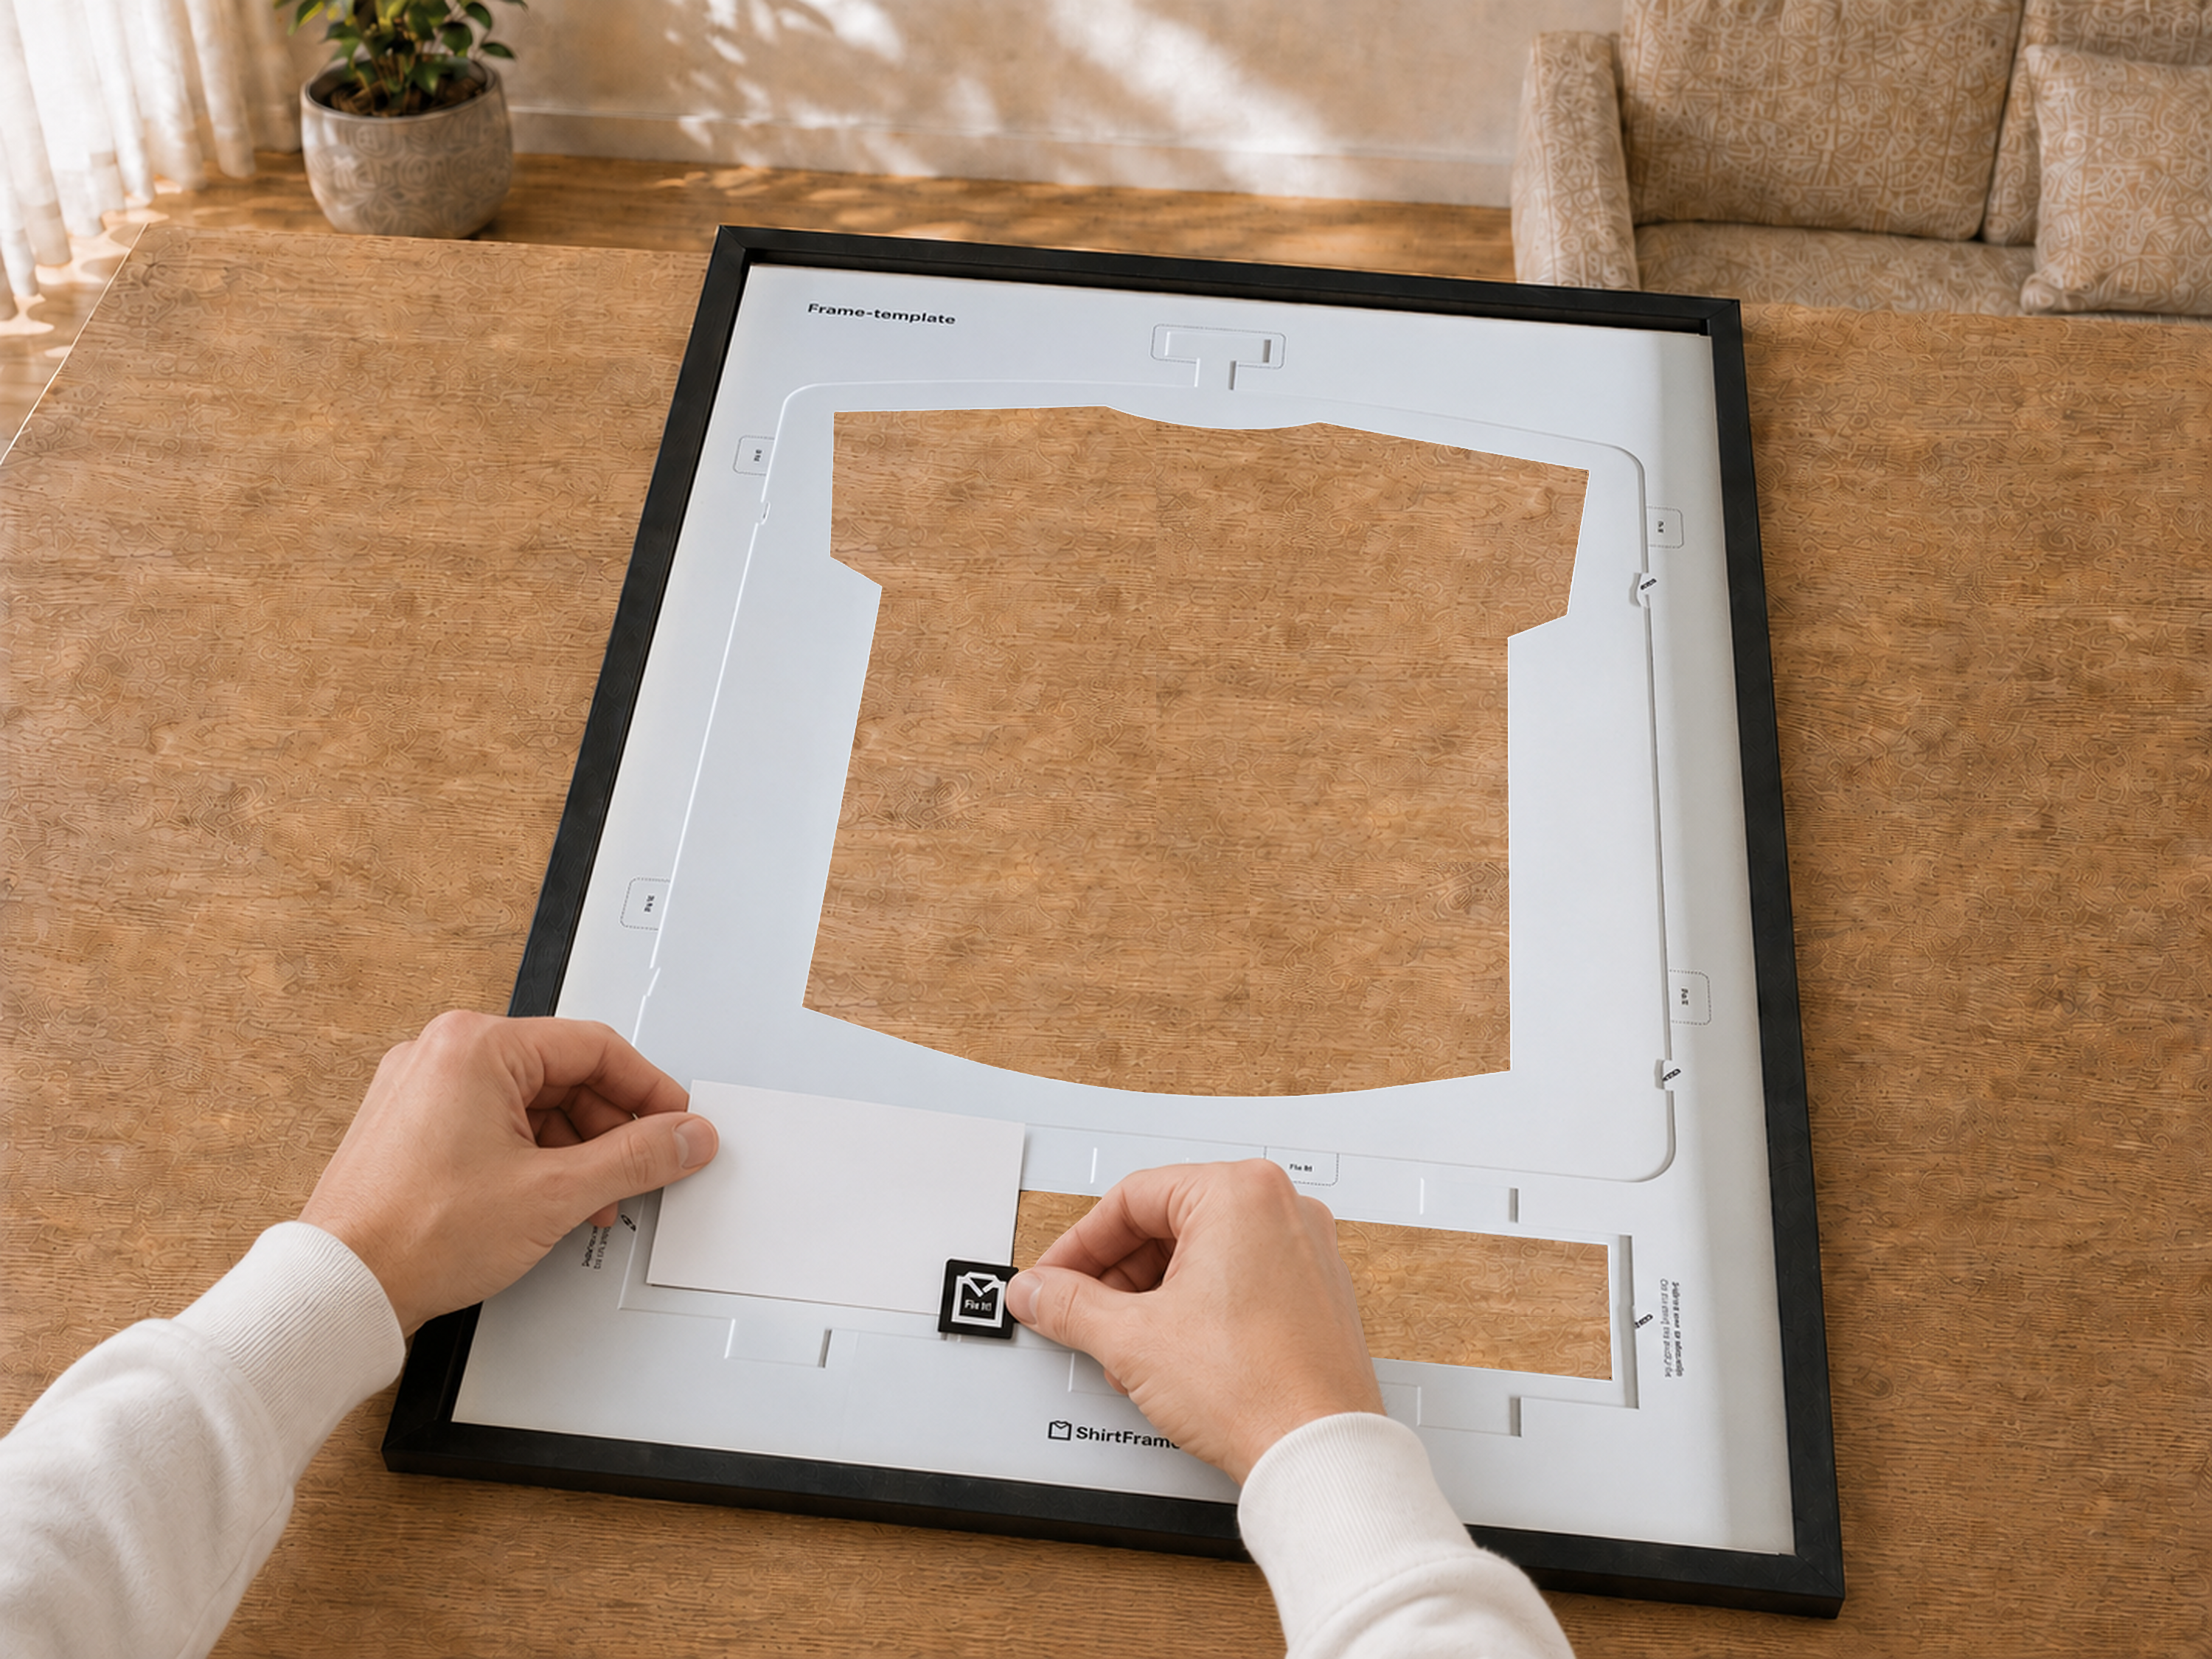
Place the frame template into the frame

Now place the frame template against the passe-partout inside the frame.

Next, place the desired photos into the cut-outs from the back side of the passe-partout. This automatically keeps the photos straight and centered. Then attach the photos using the included Fix it! stickers.

Placing the frame template into the frame
6

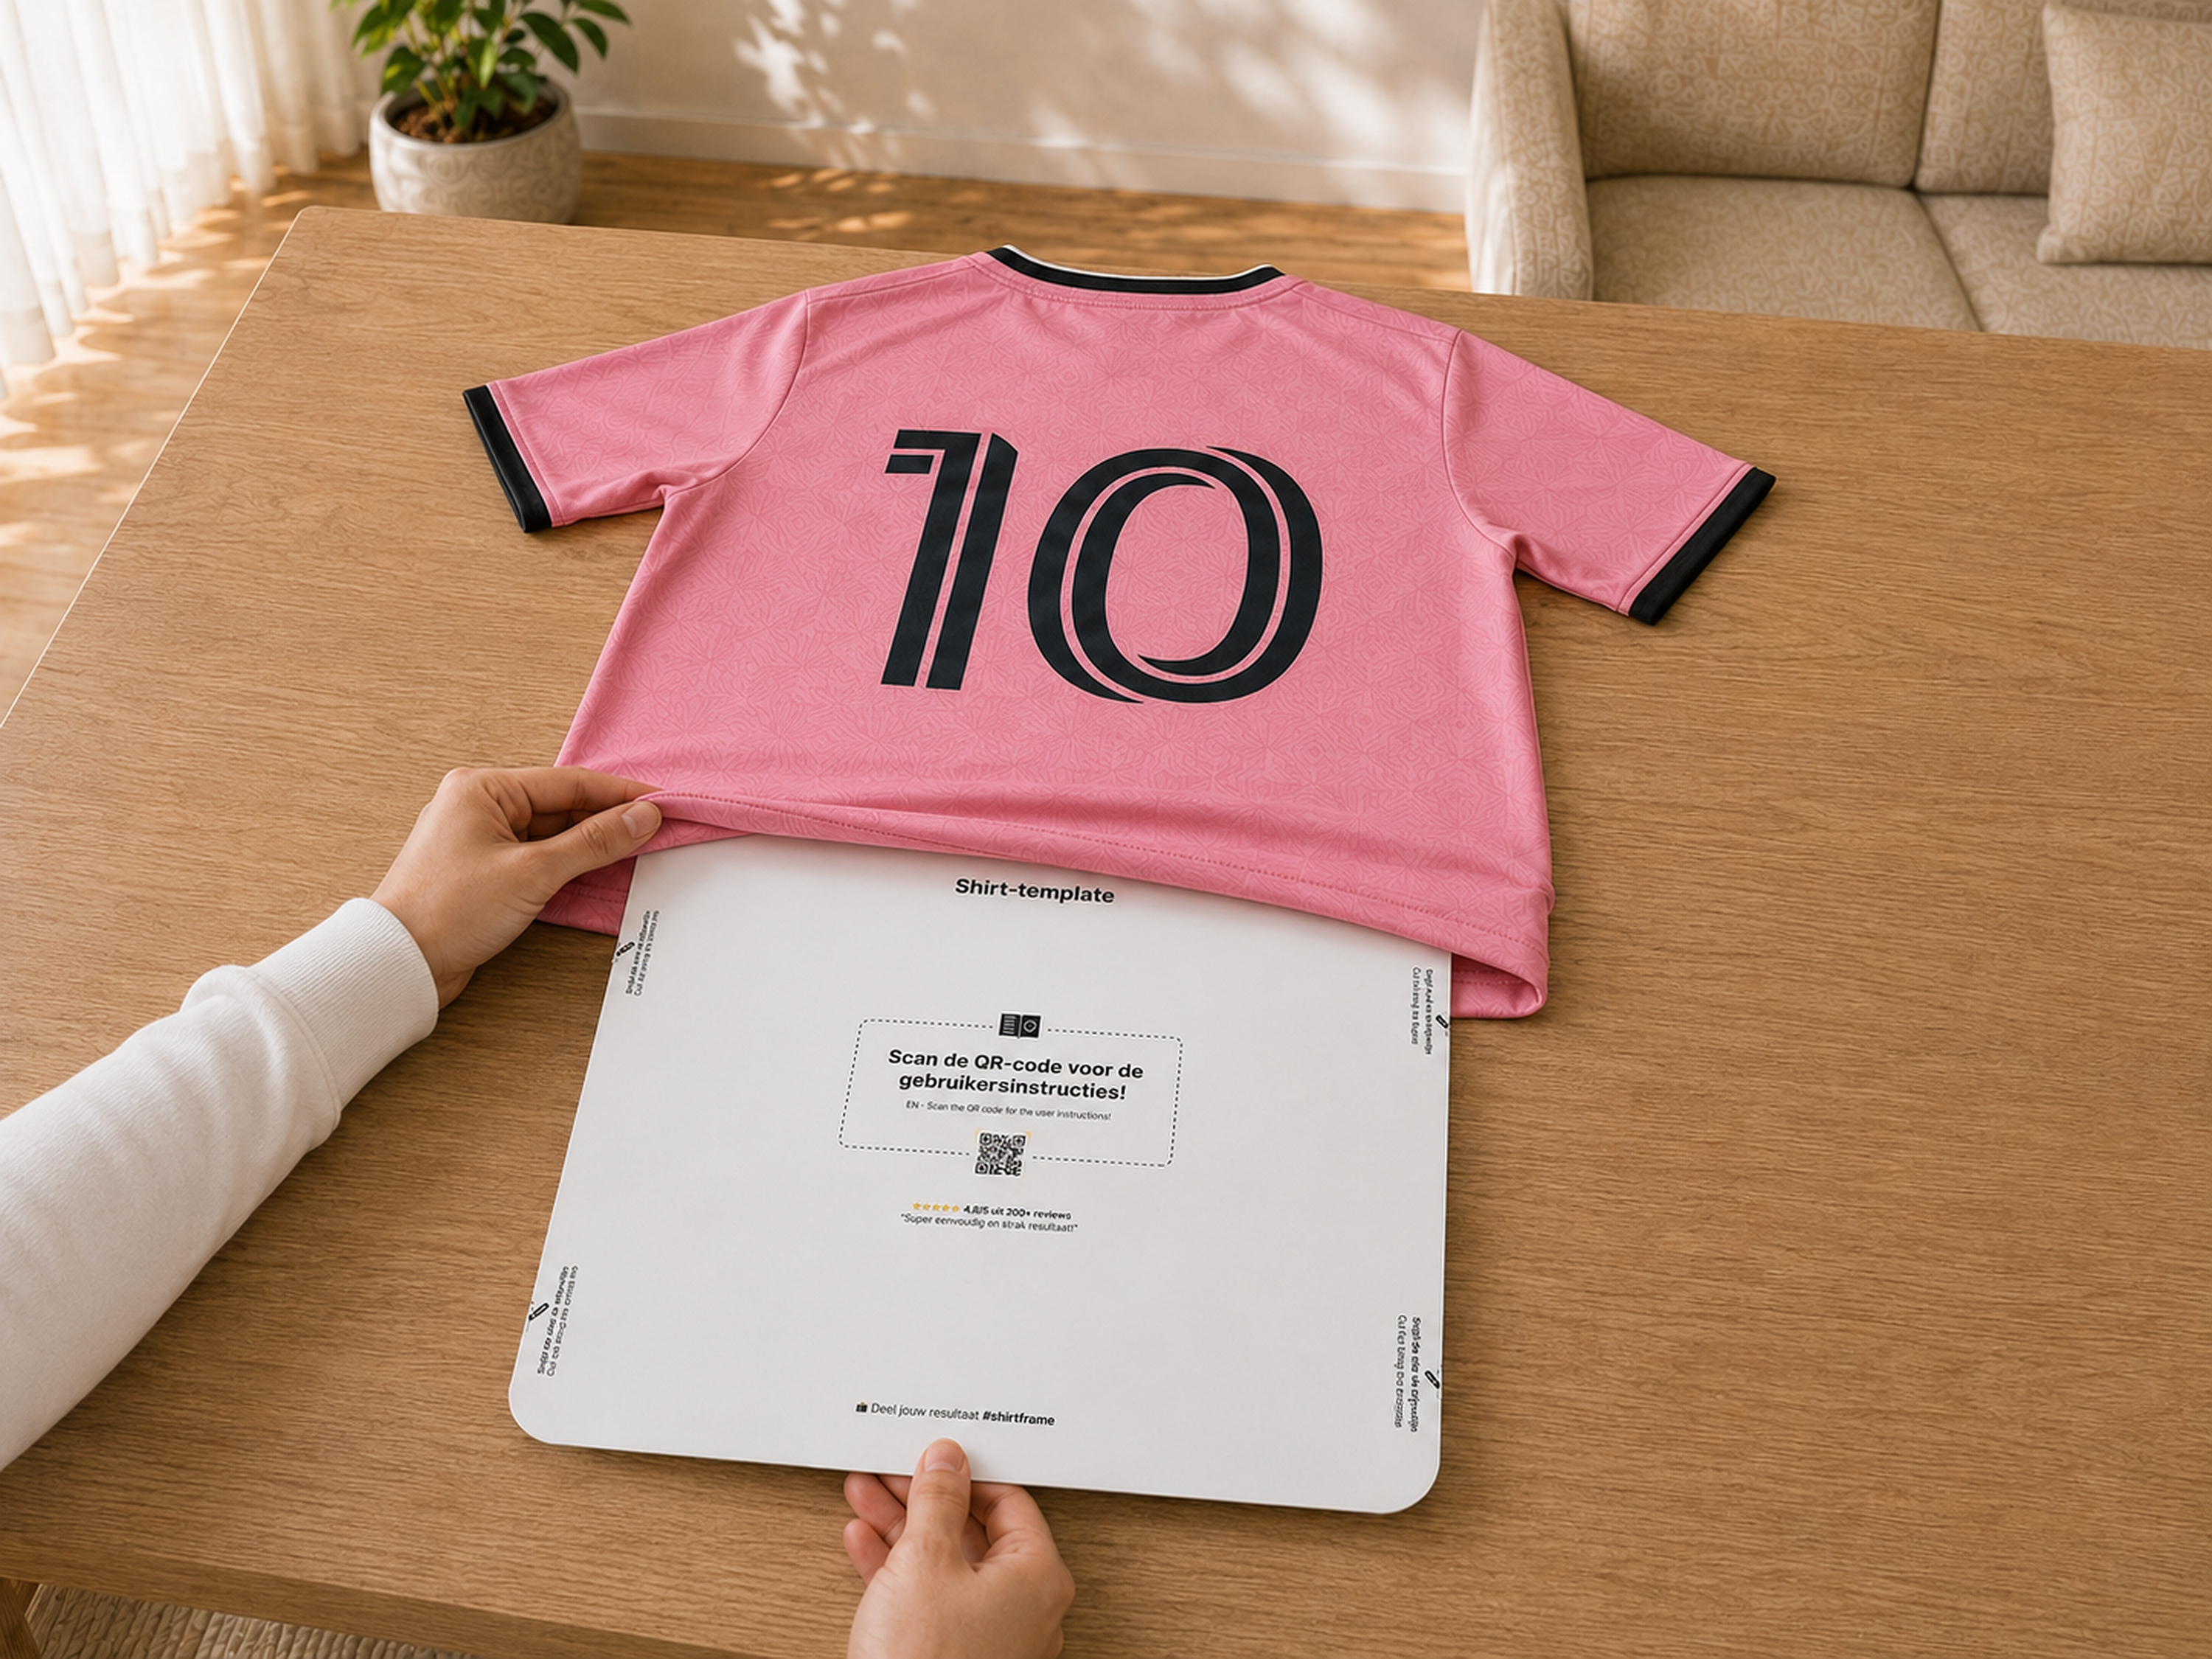
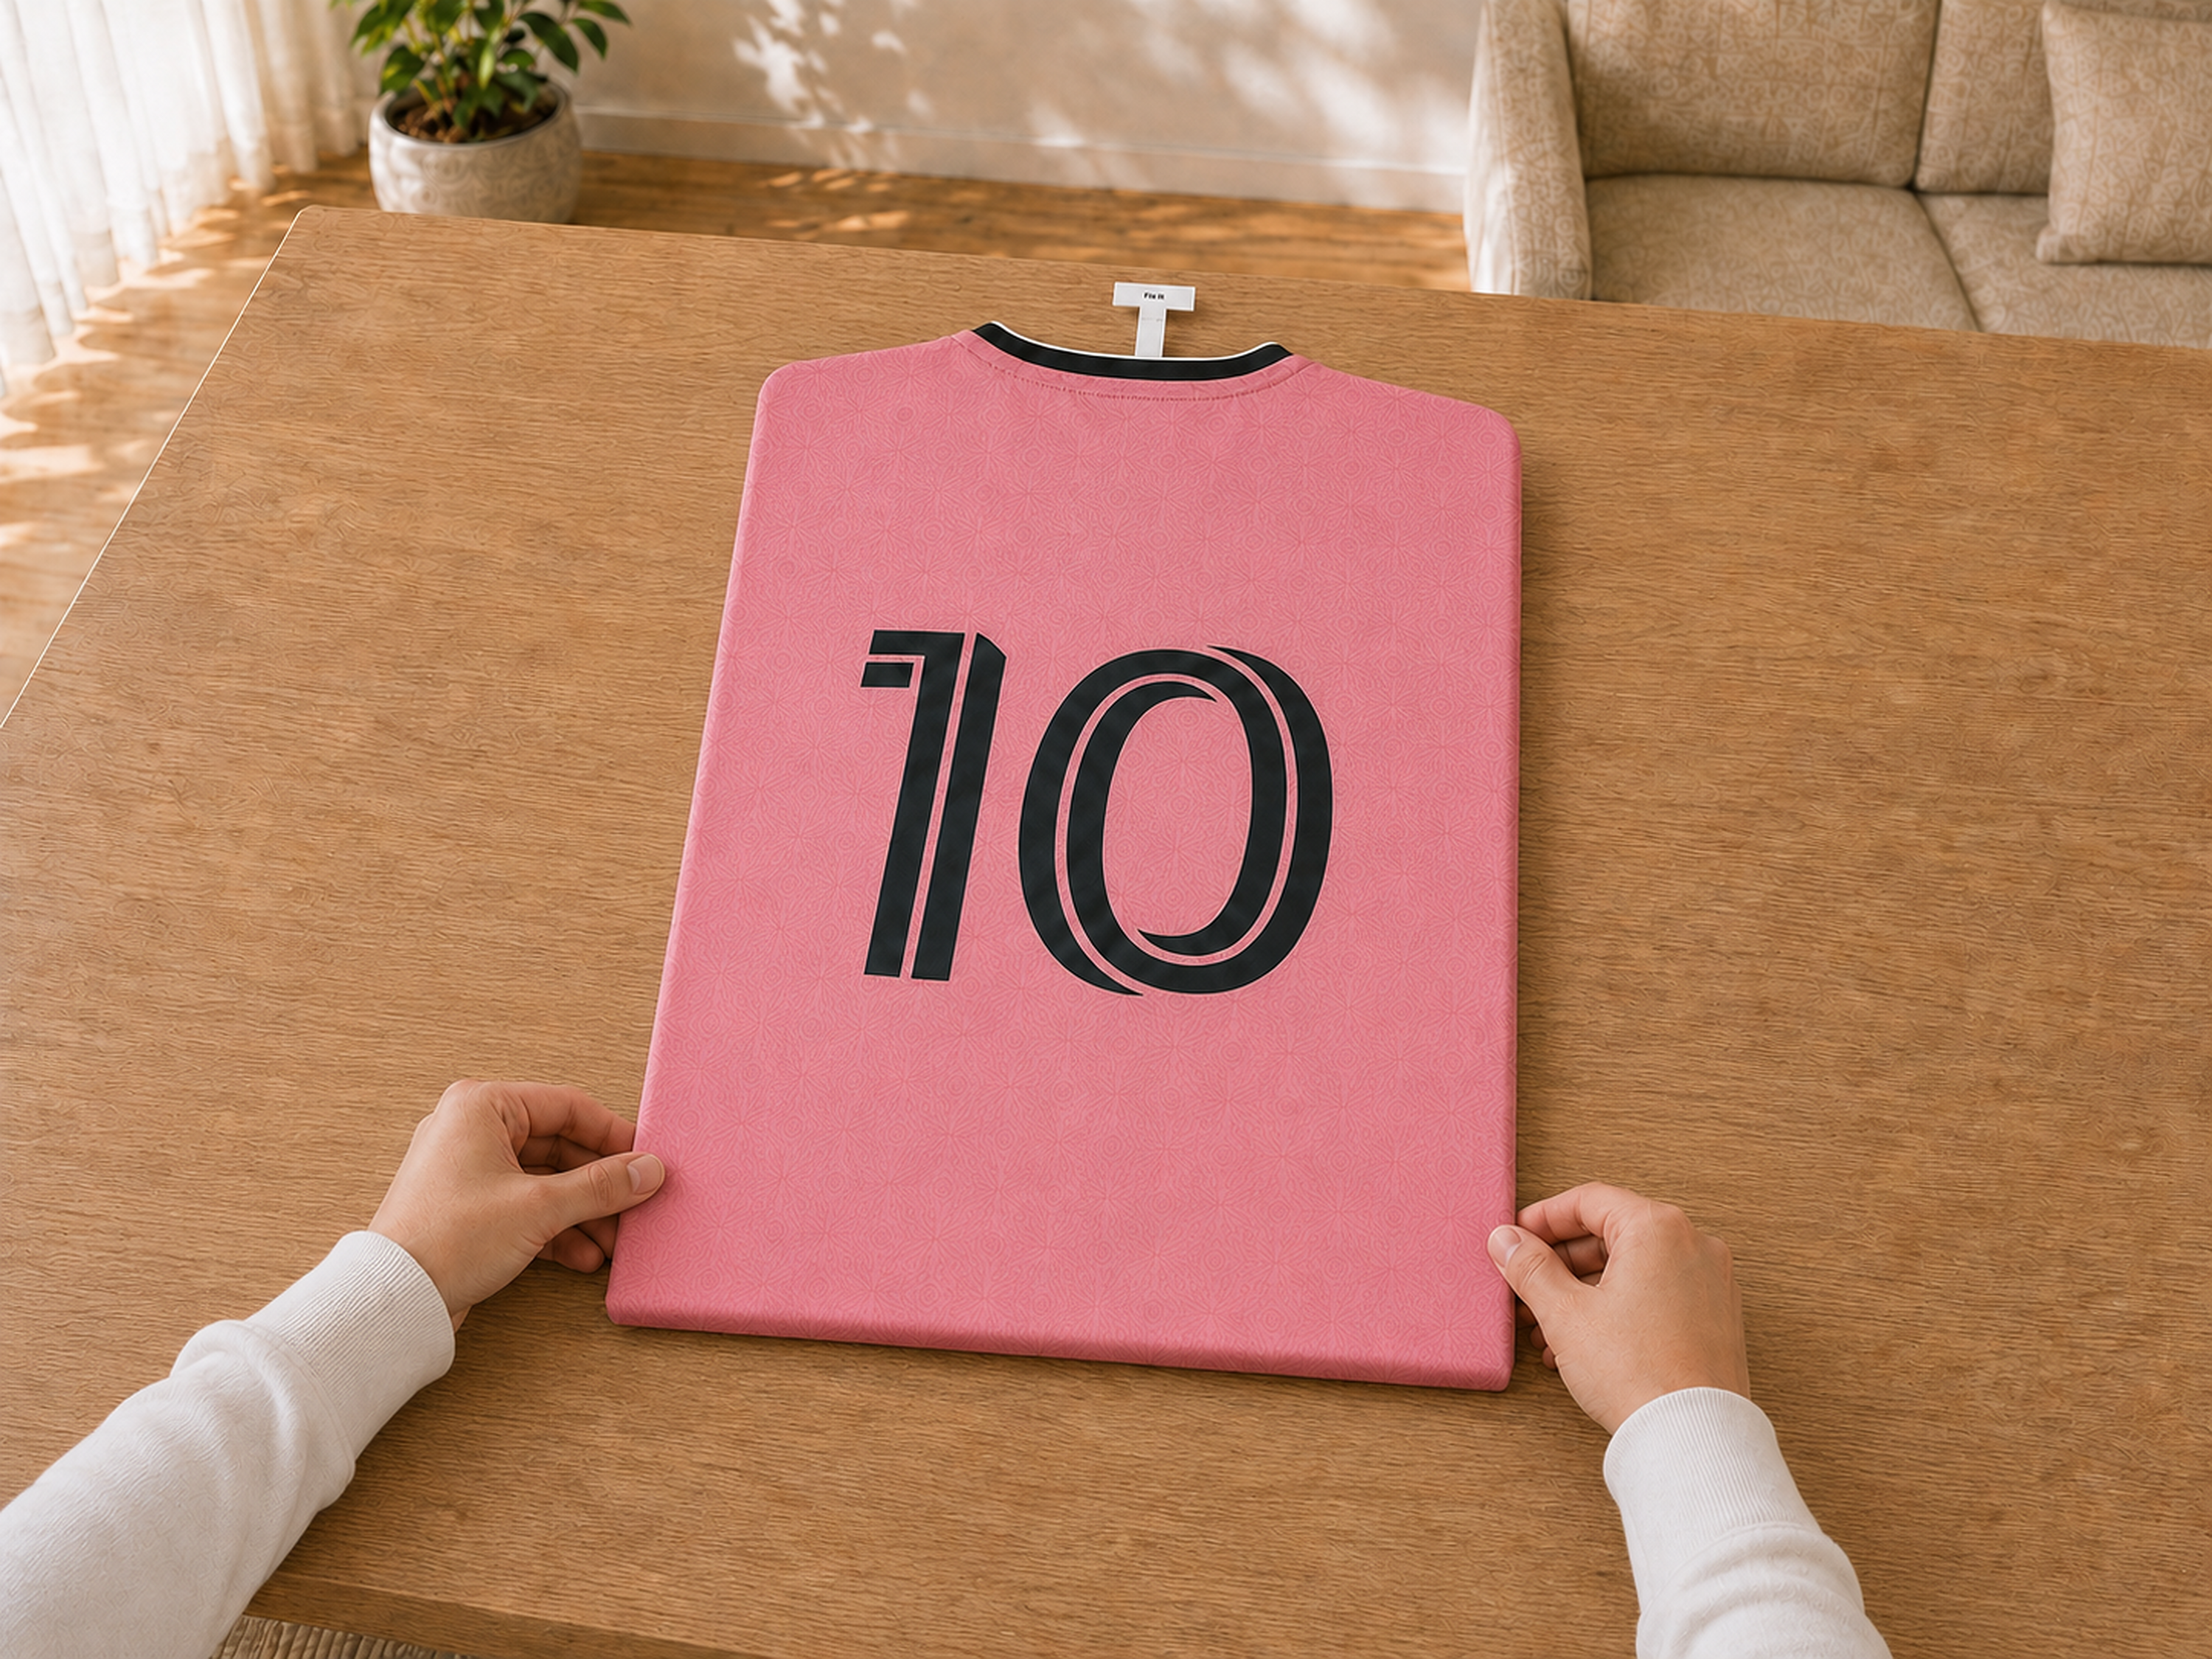
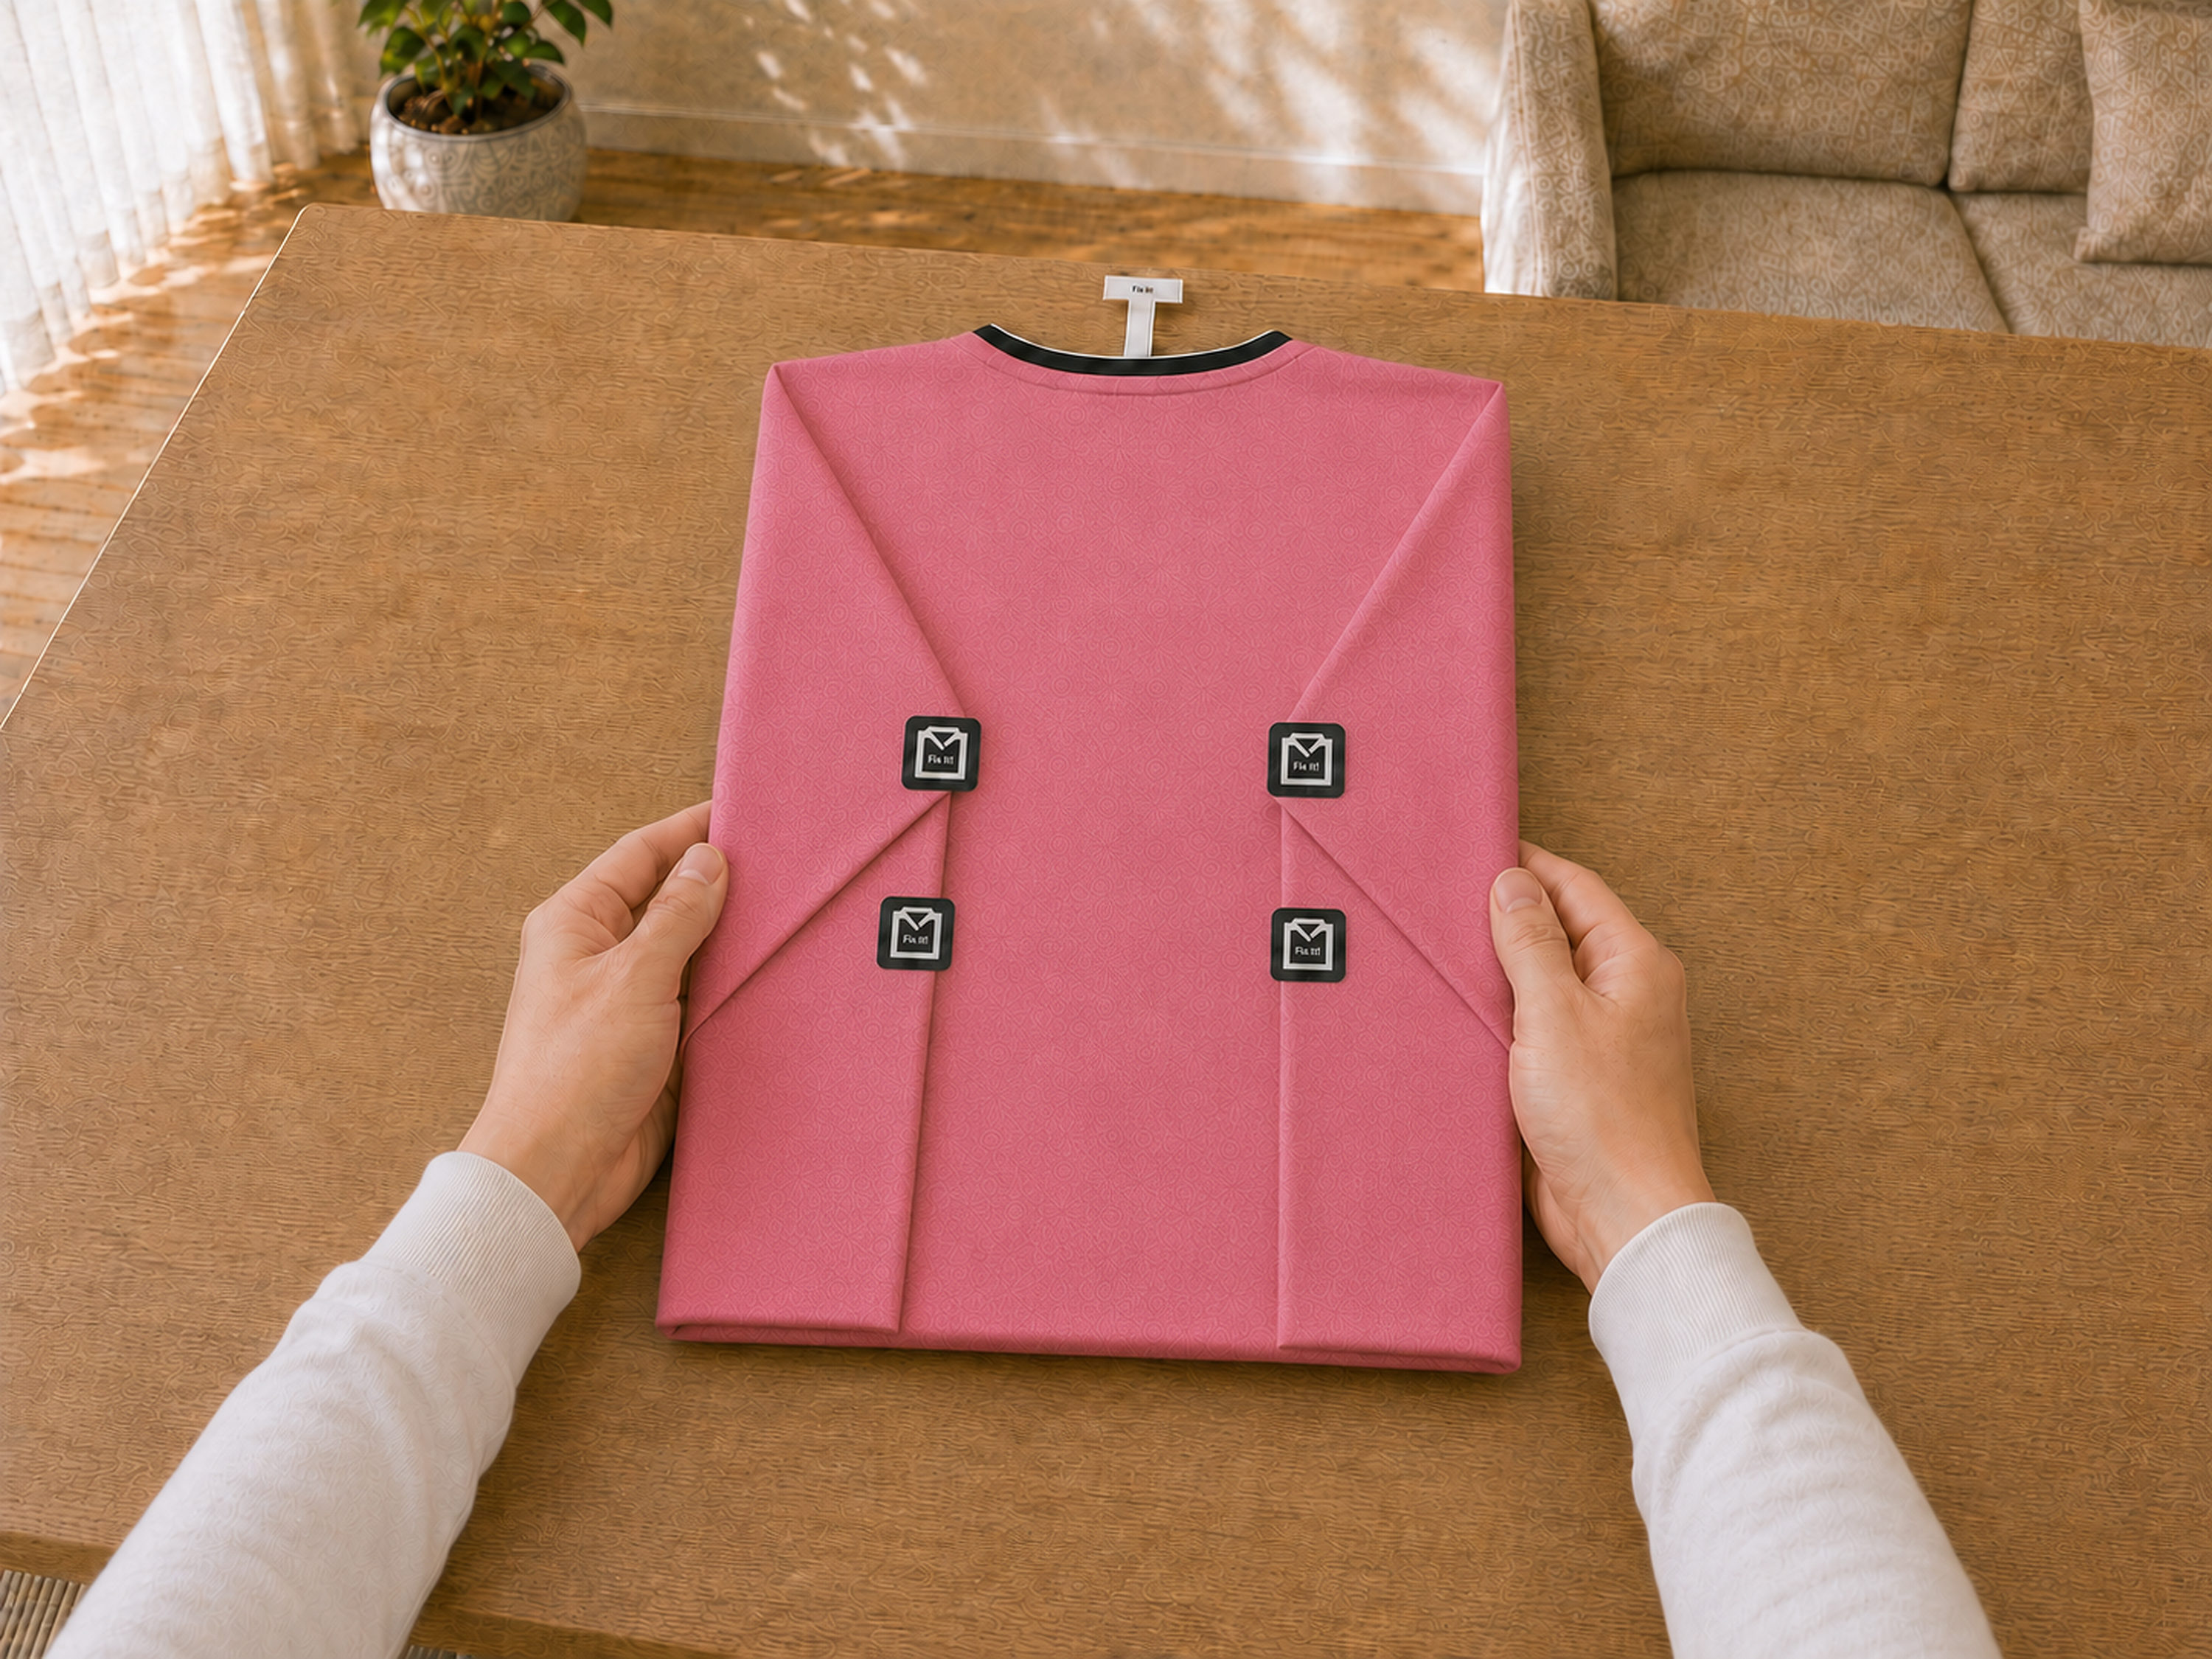
Fold the shirt tightly around the template

Place the shirt/singlet template inside the shirt, fold the shirt tightly around it and secure it using the included Fix it! stickers.

Placing the shirt template inside the shirt Folding the shirt tightly around the template Securing the shirt with Fix it! stickers
7

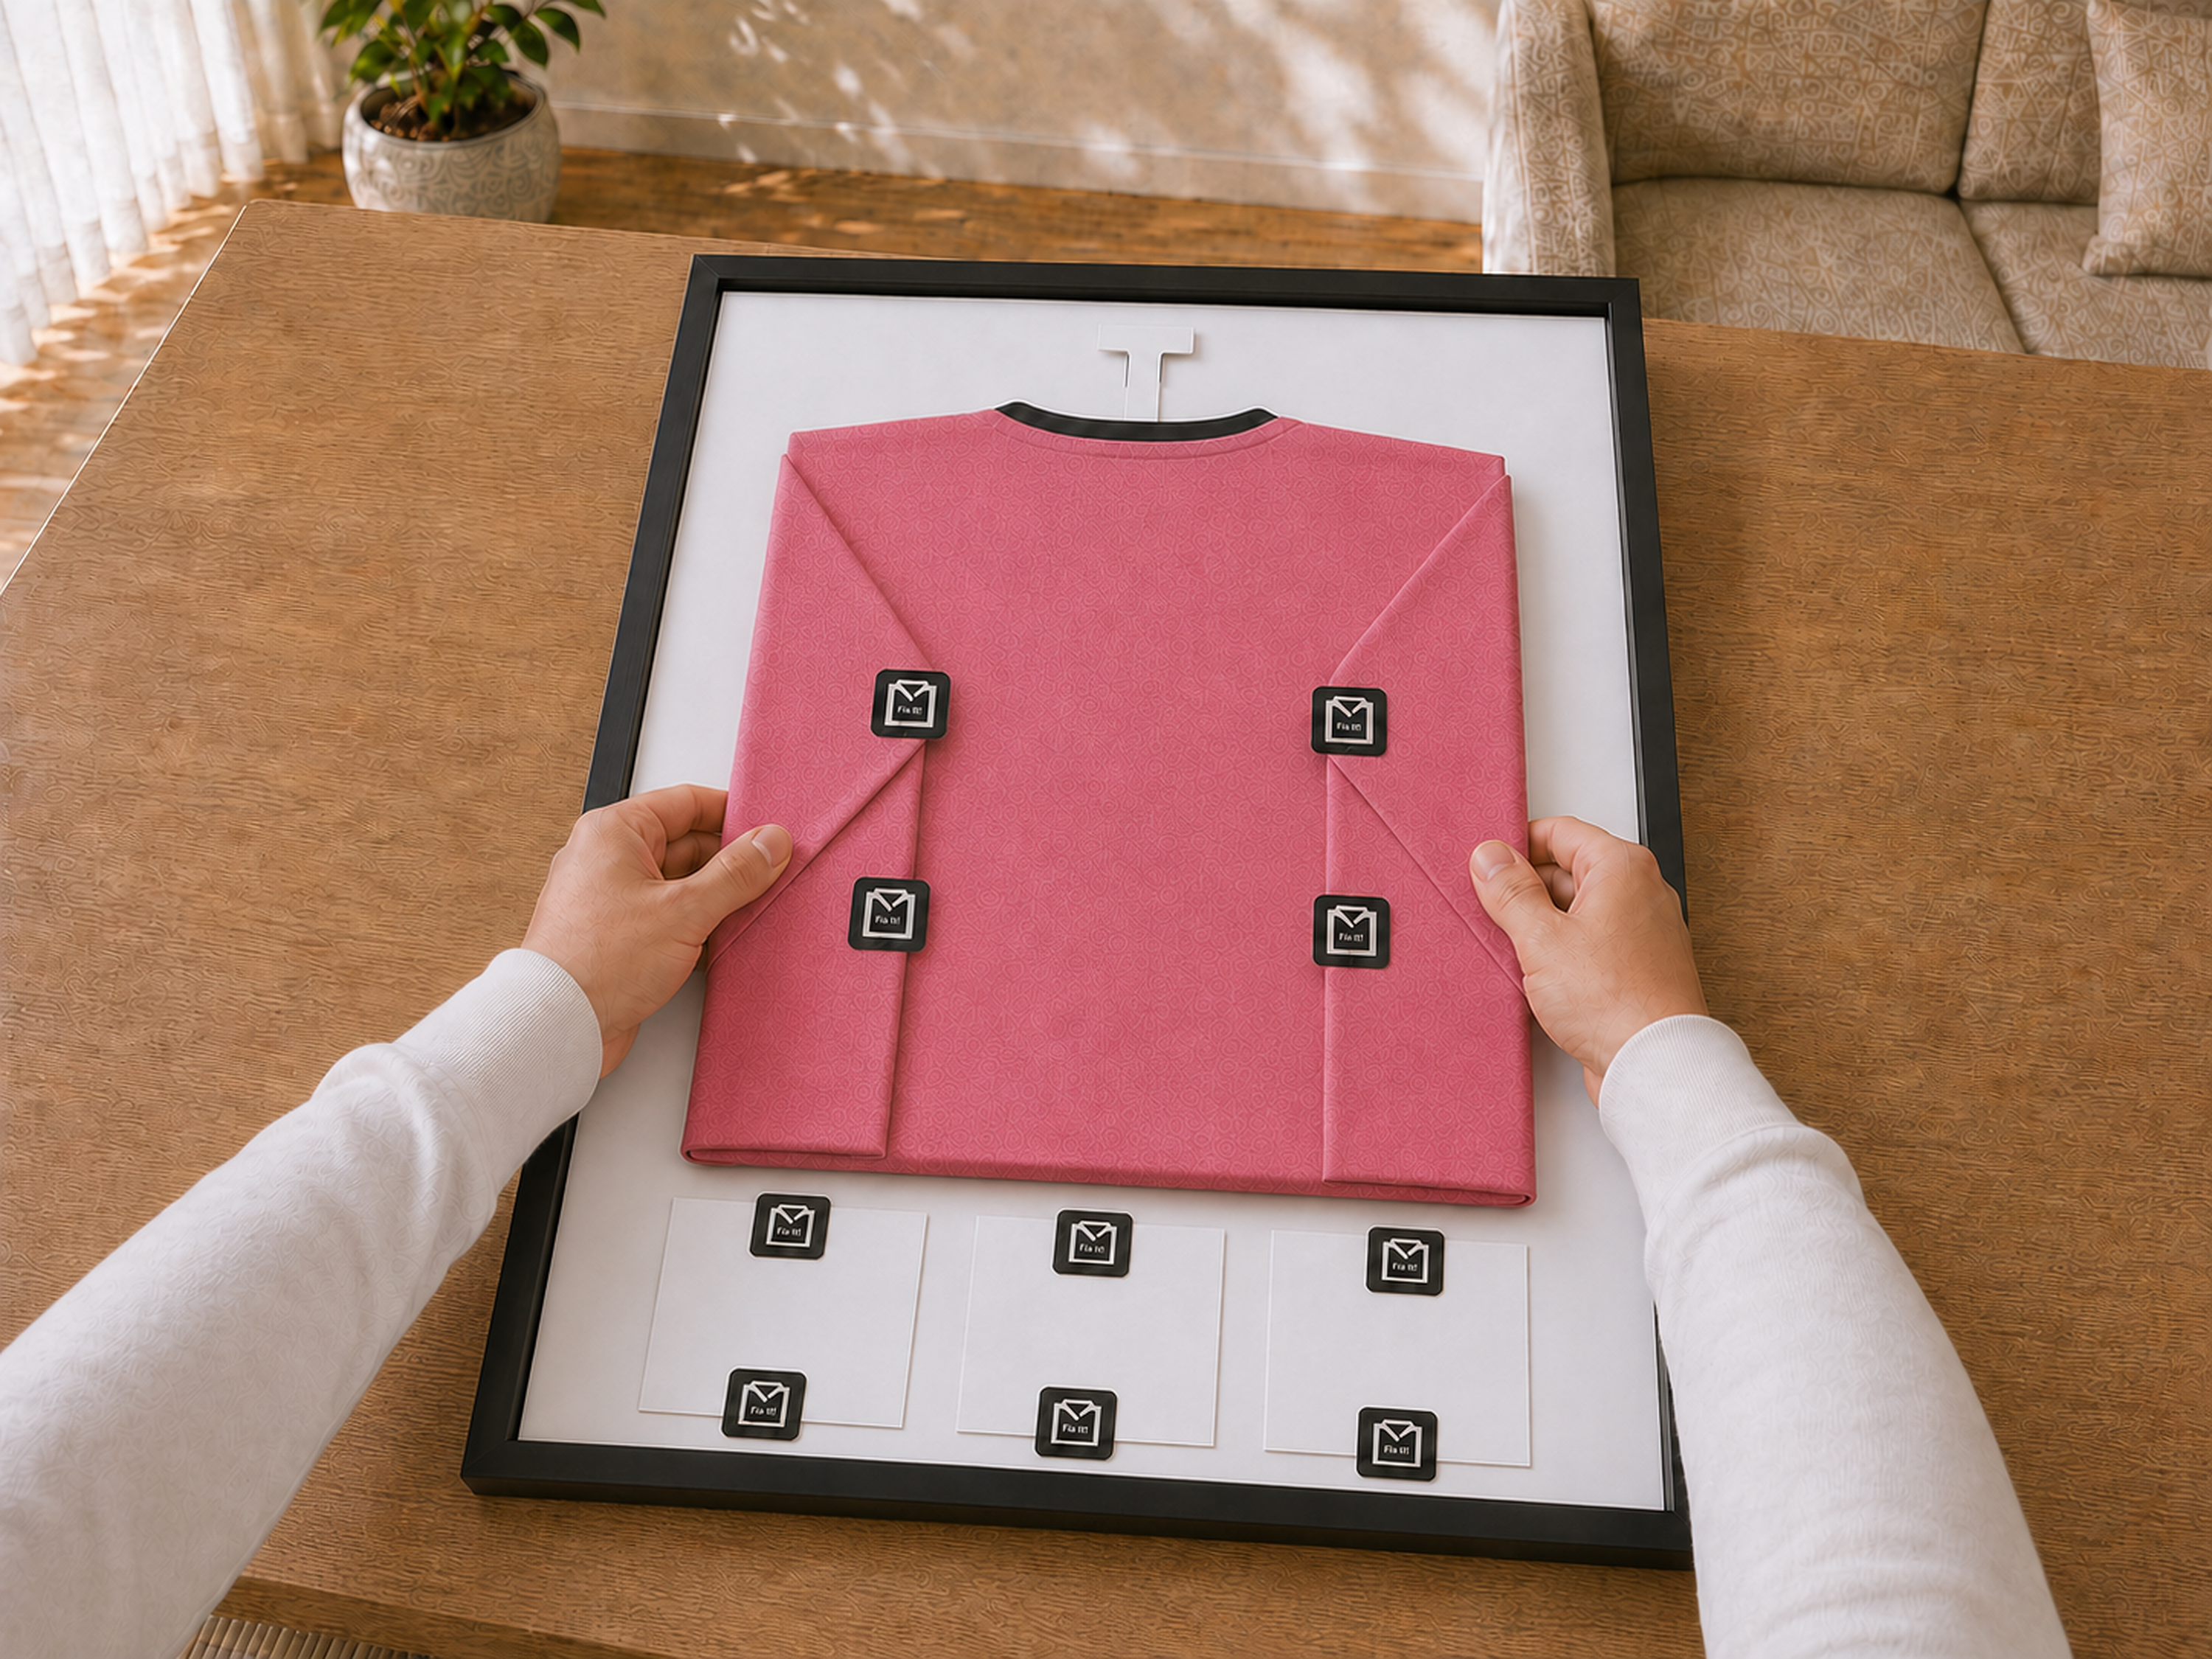
Place the shirt into the cut-out

Place the shirt into the cut-out of the frame template and make sure the shirt is neatly centered.

Placing the shirt centered in the cut-out
8

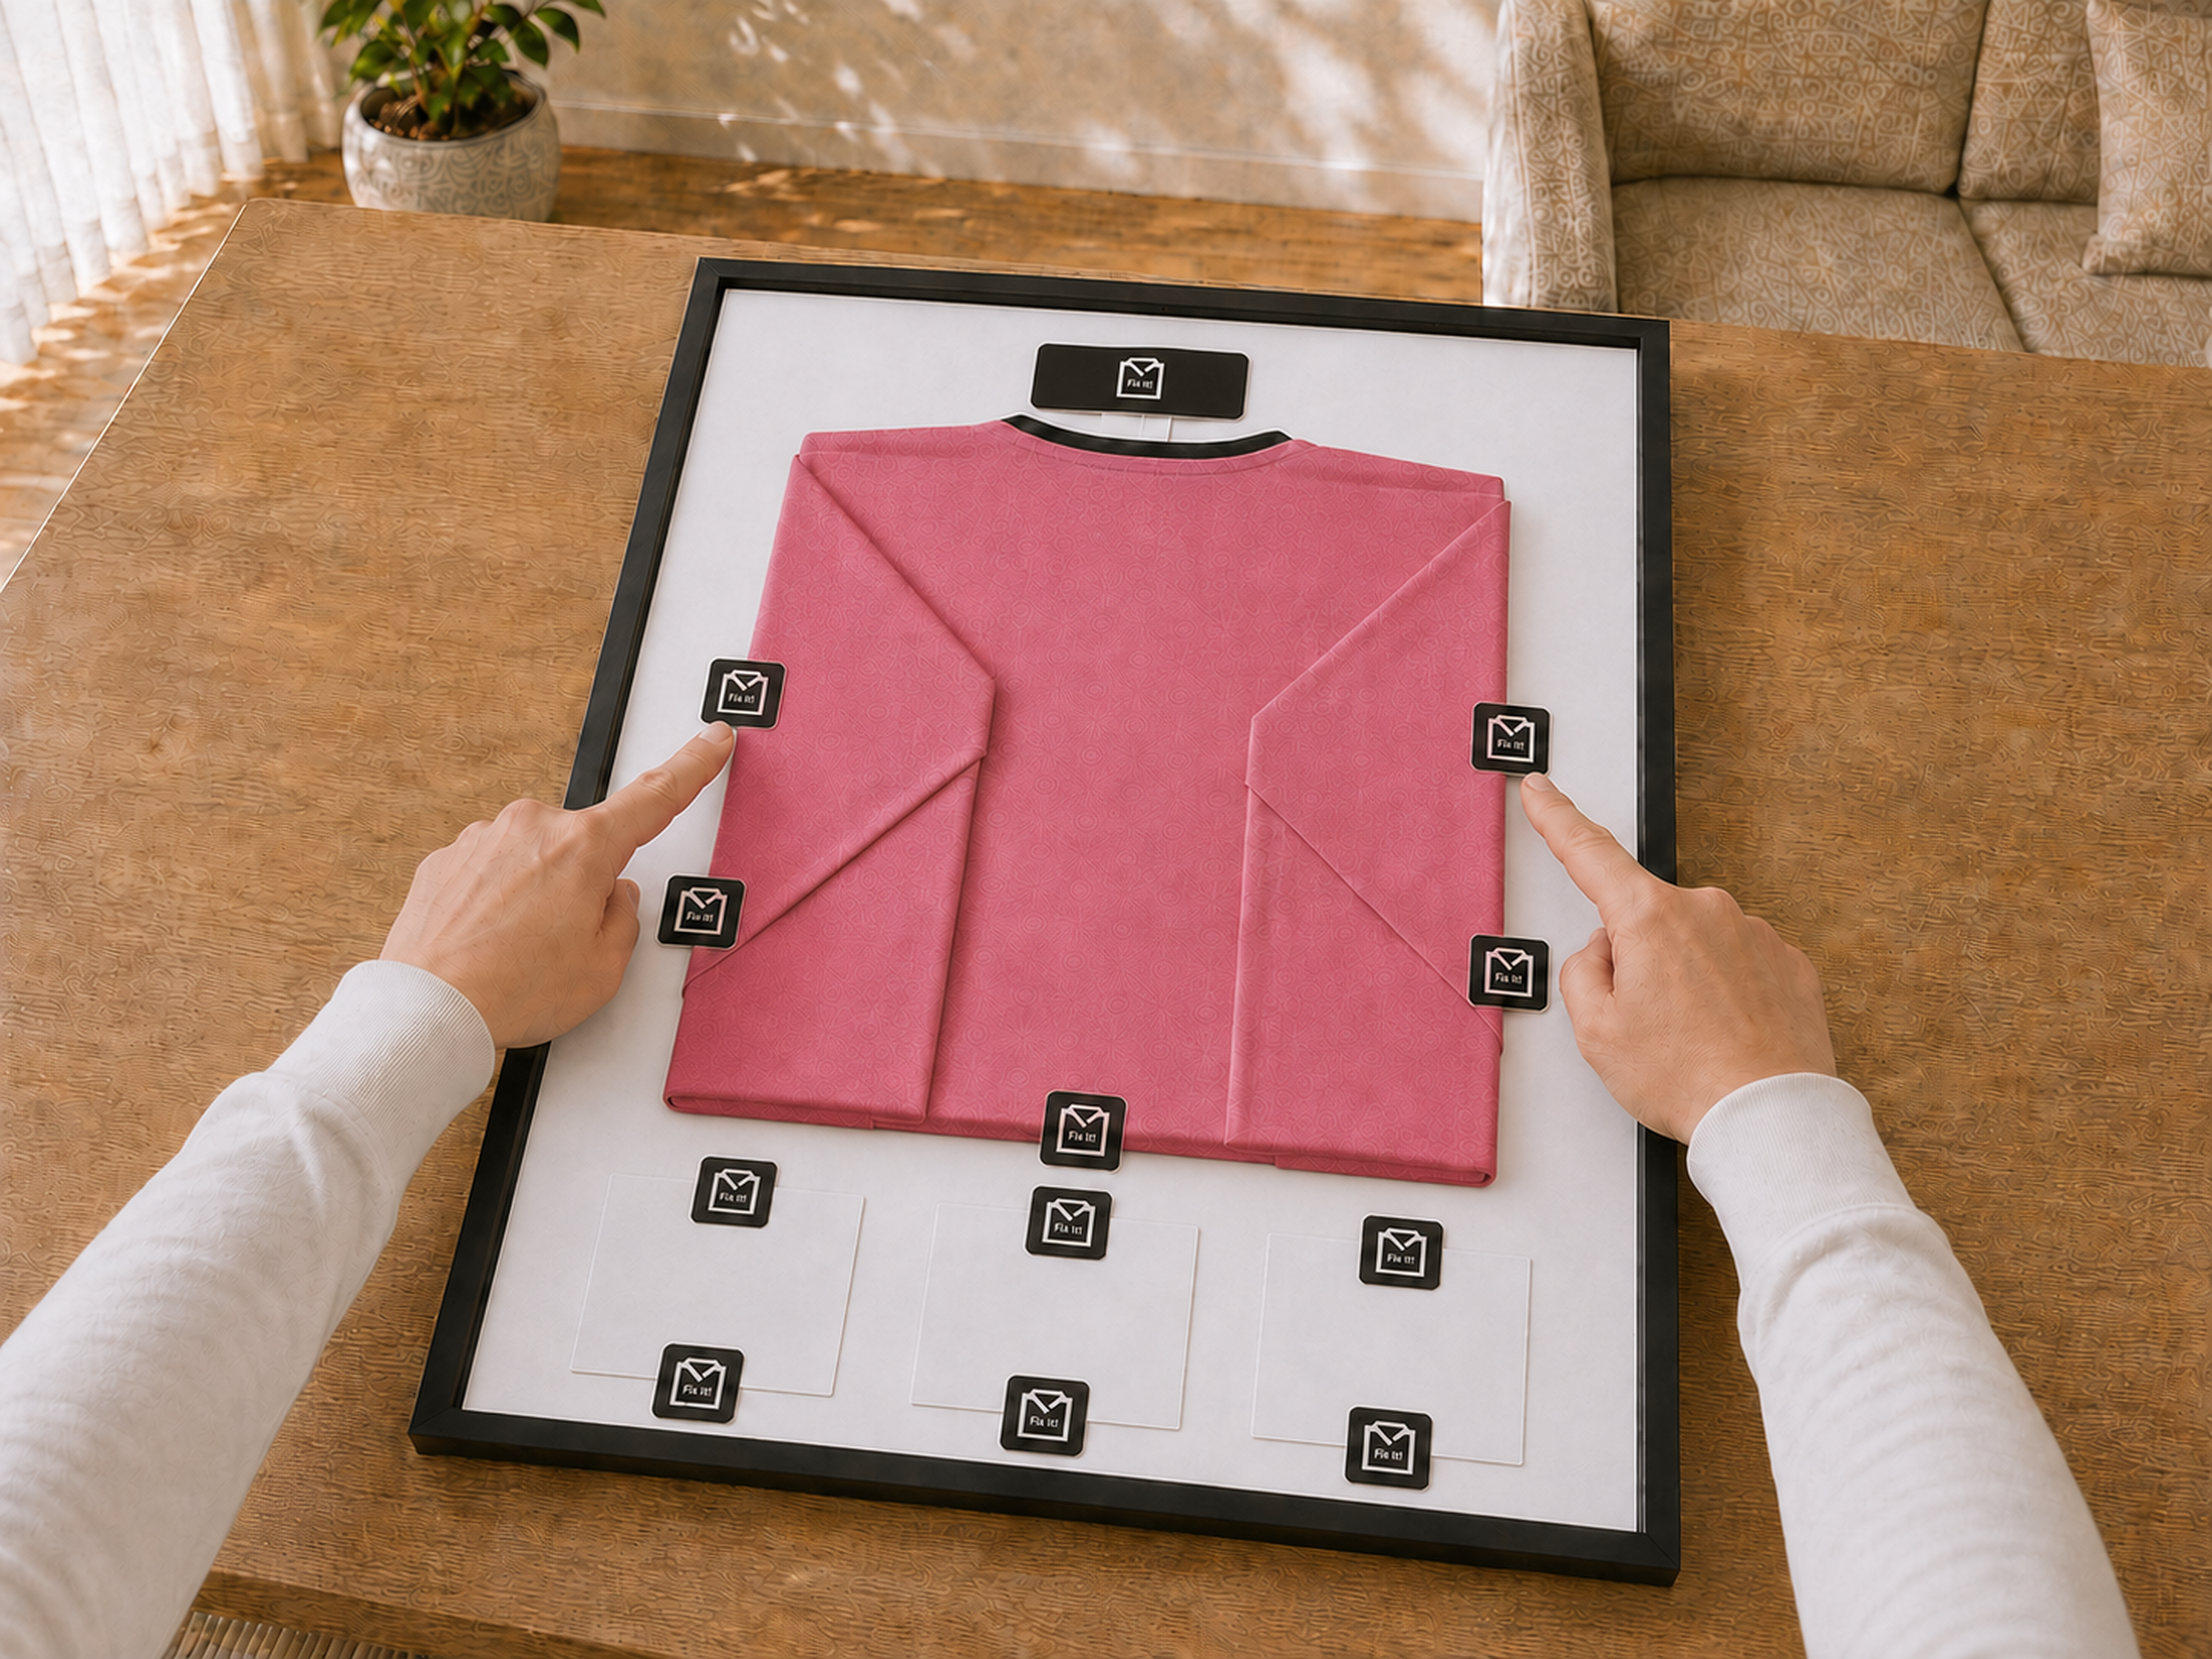
Secure the shirt onto the frame template

Attach the extra flap to the top of the template using the large Fix it! sticker. This prevents the shirt from sagging over time.

Then secure the shirt at the remaining indicated points using the included Fix it! stickers.

Securing the shirt onto the frame template
9

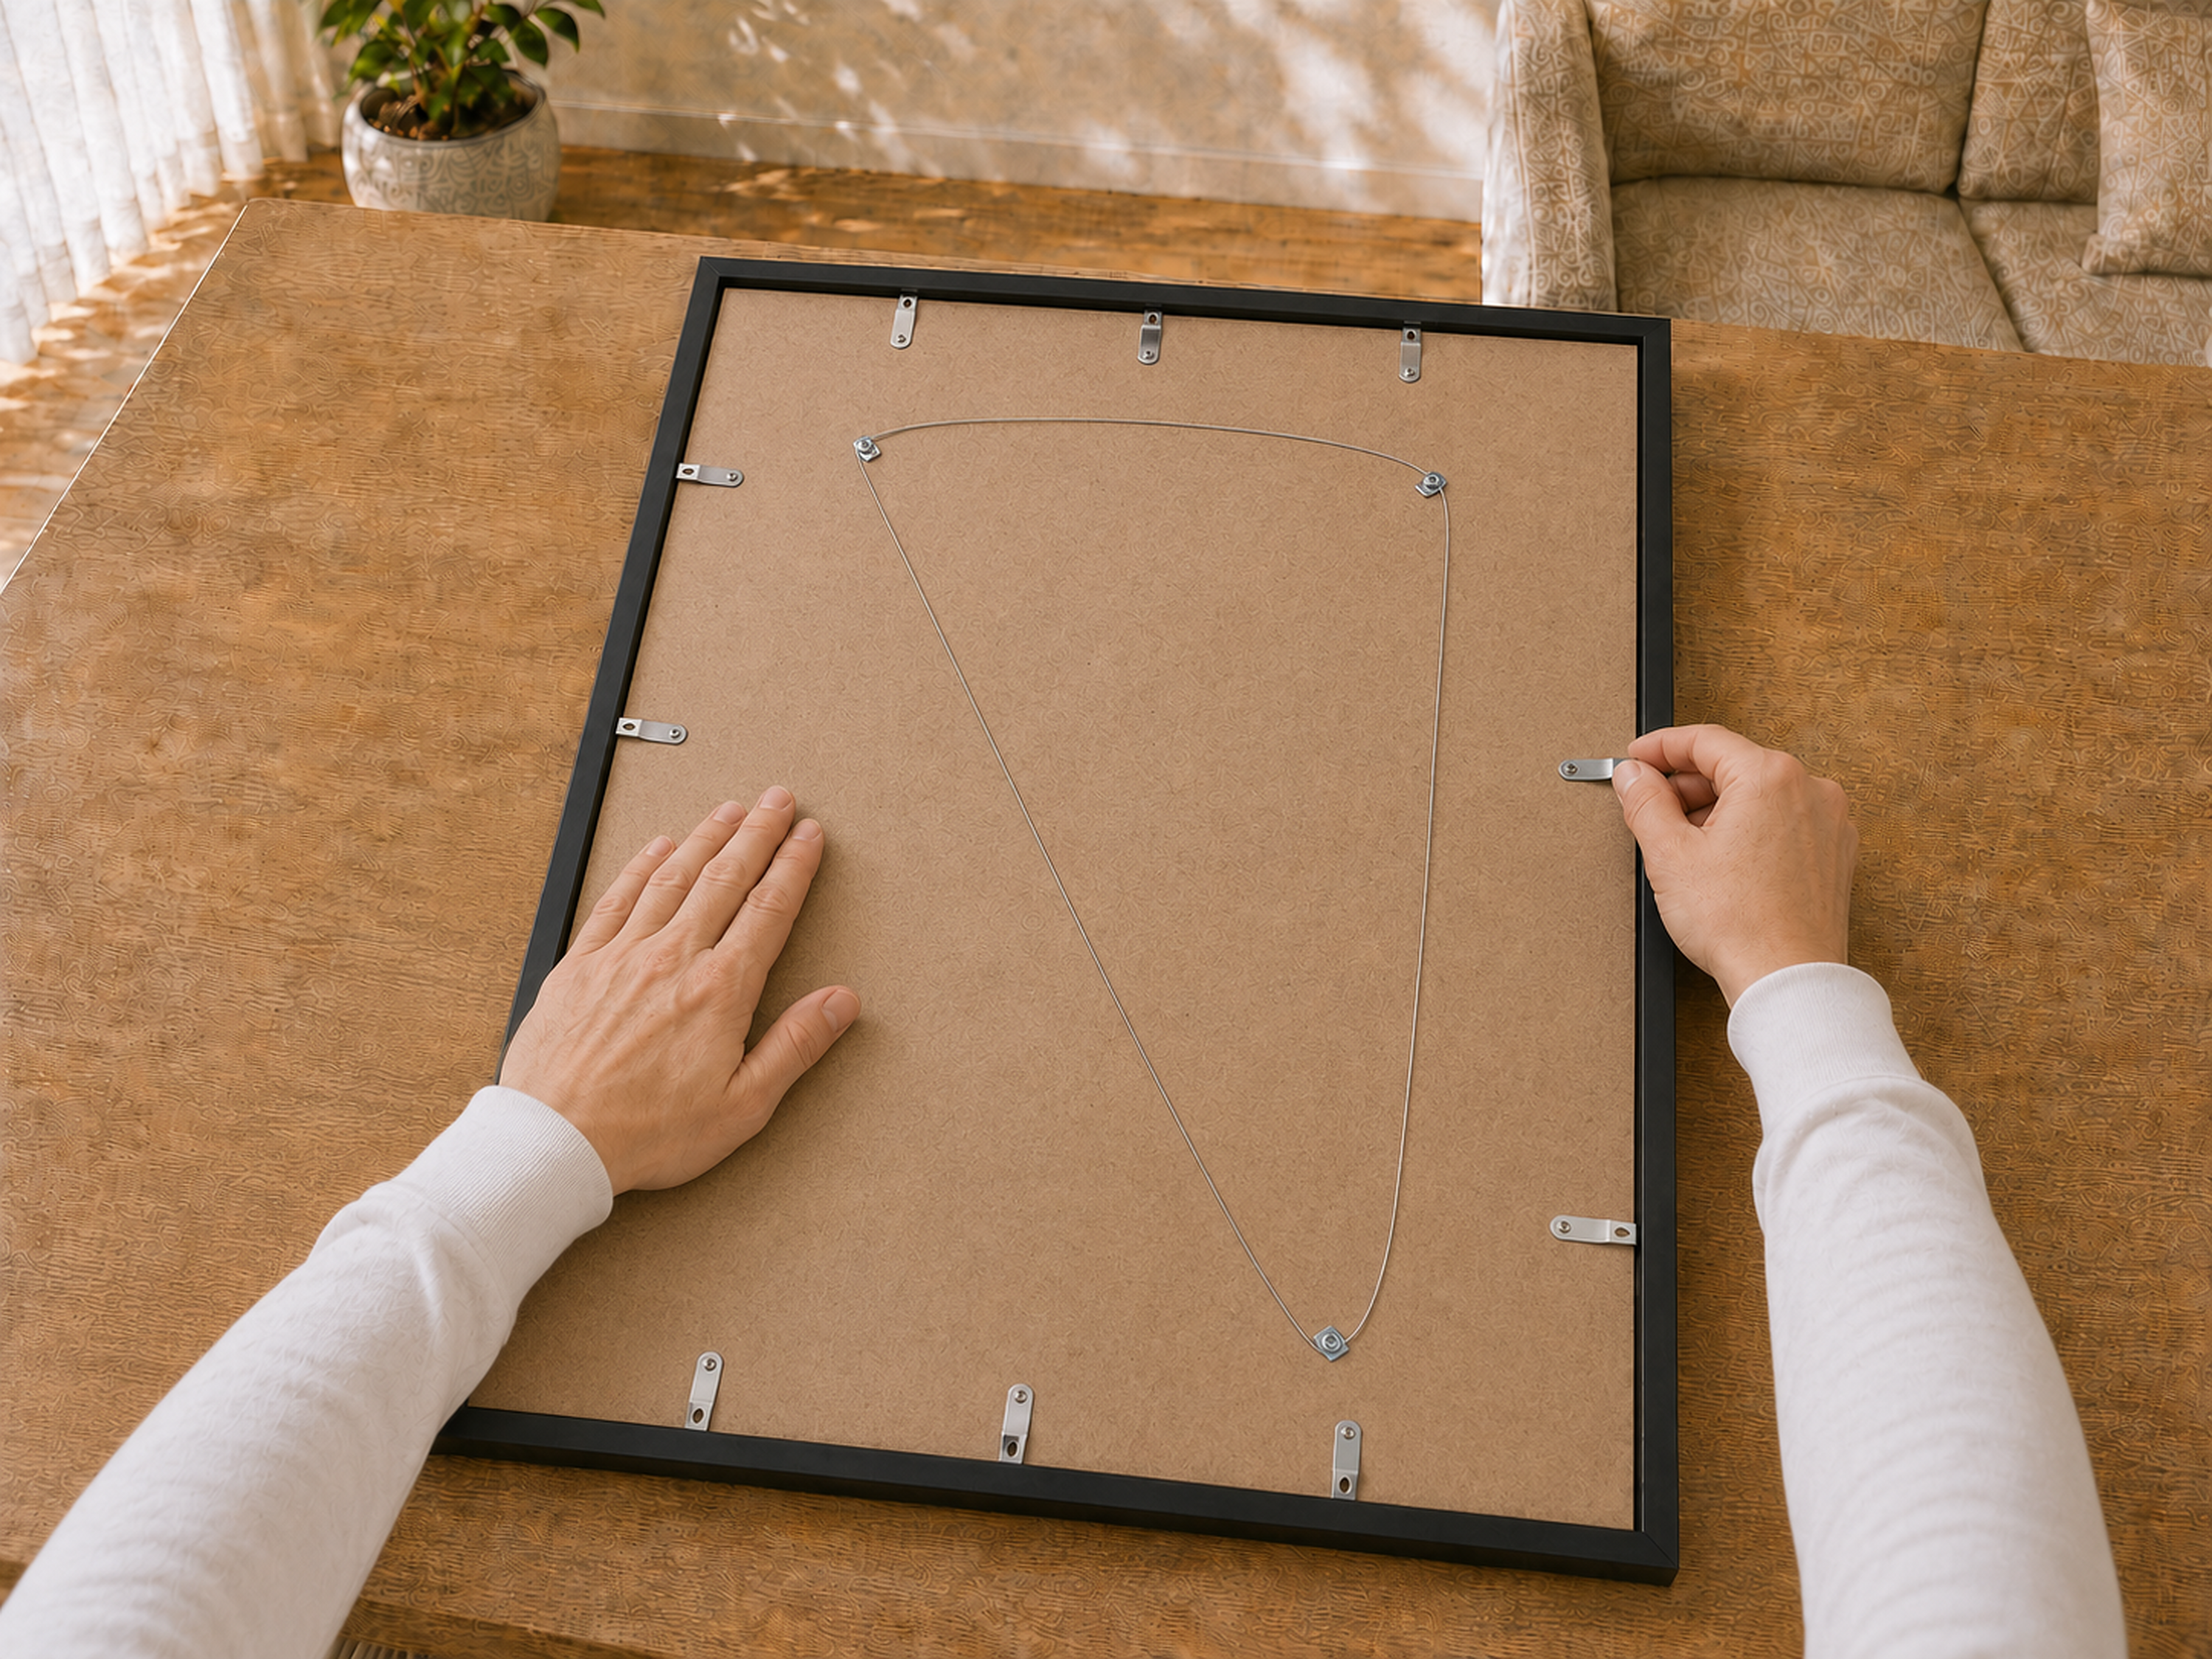
Insert and secure the back panel

Place the back panel into the ShirtFrame and secure it using the retaining clips.

Placing the back panel into the ShirtFrame
10

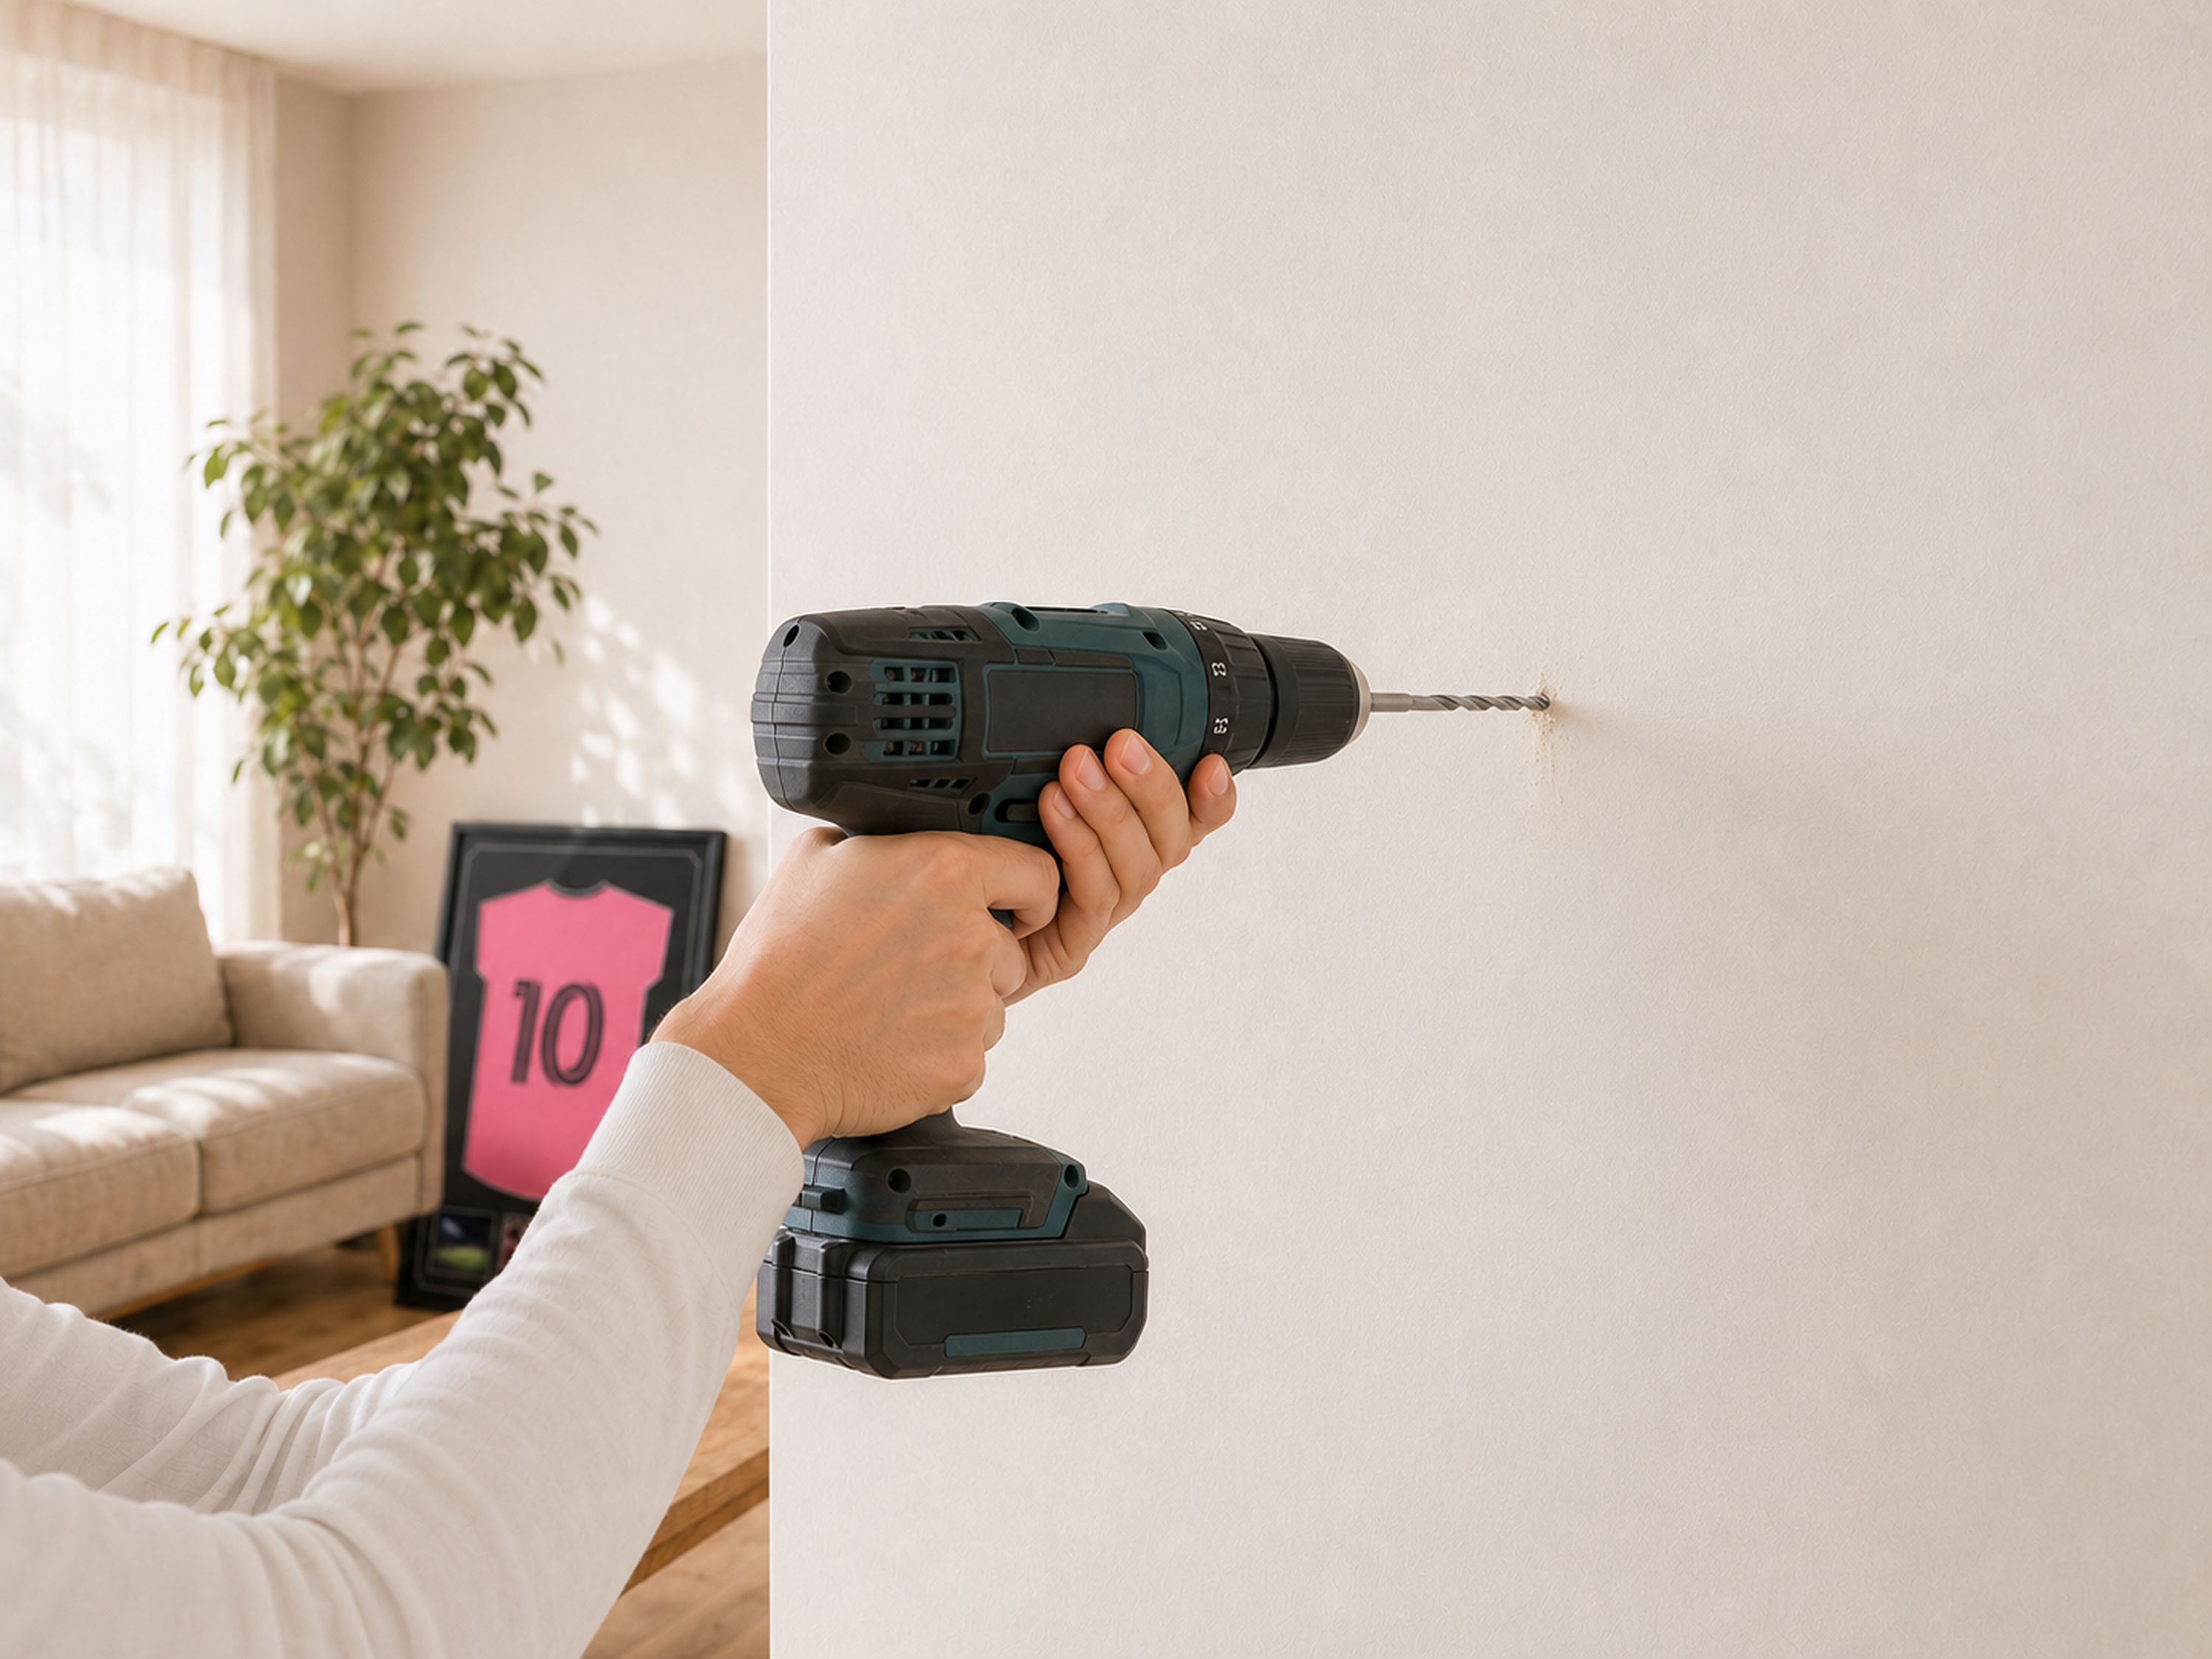
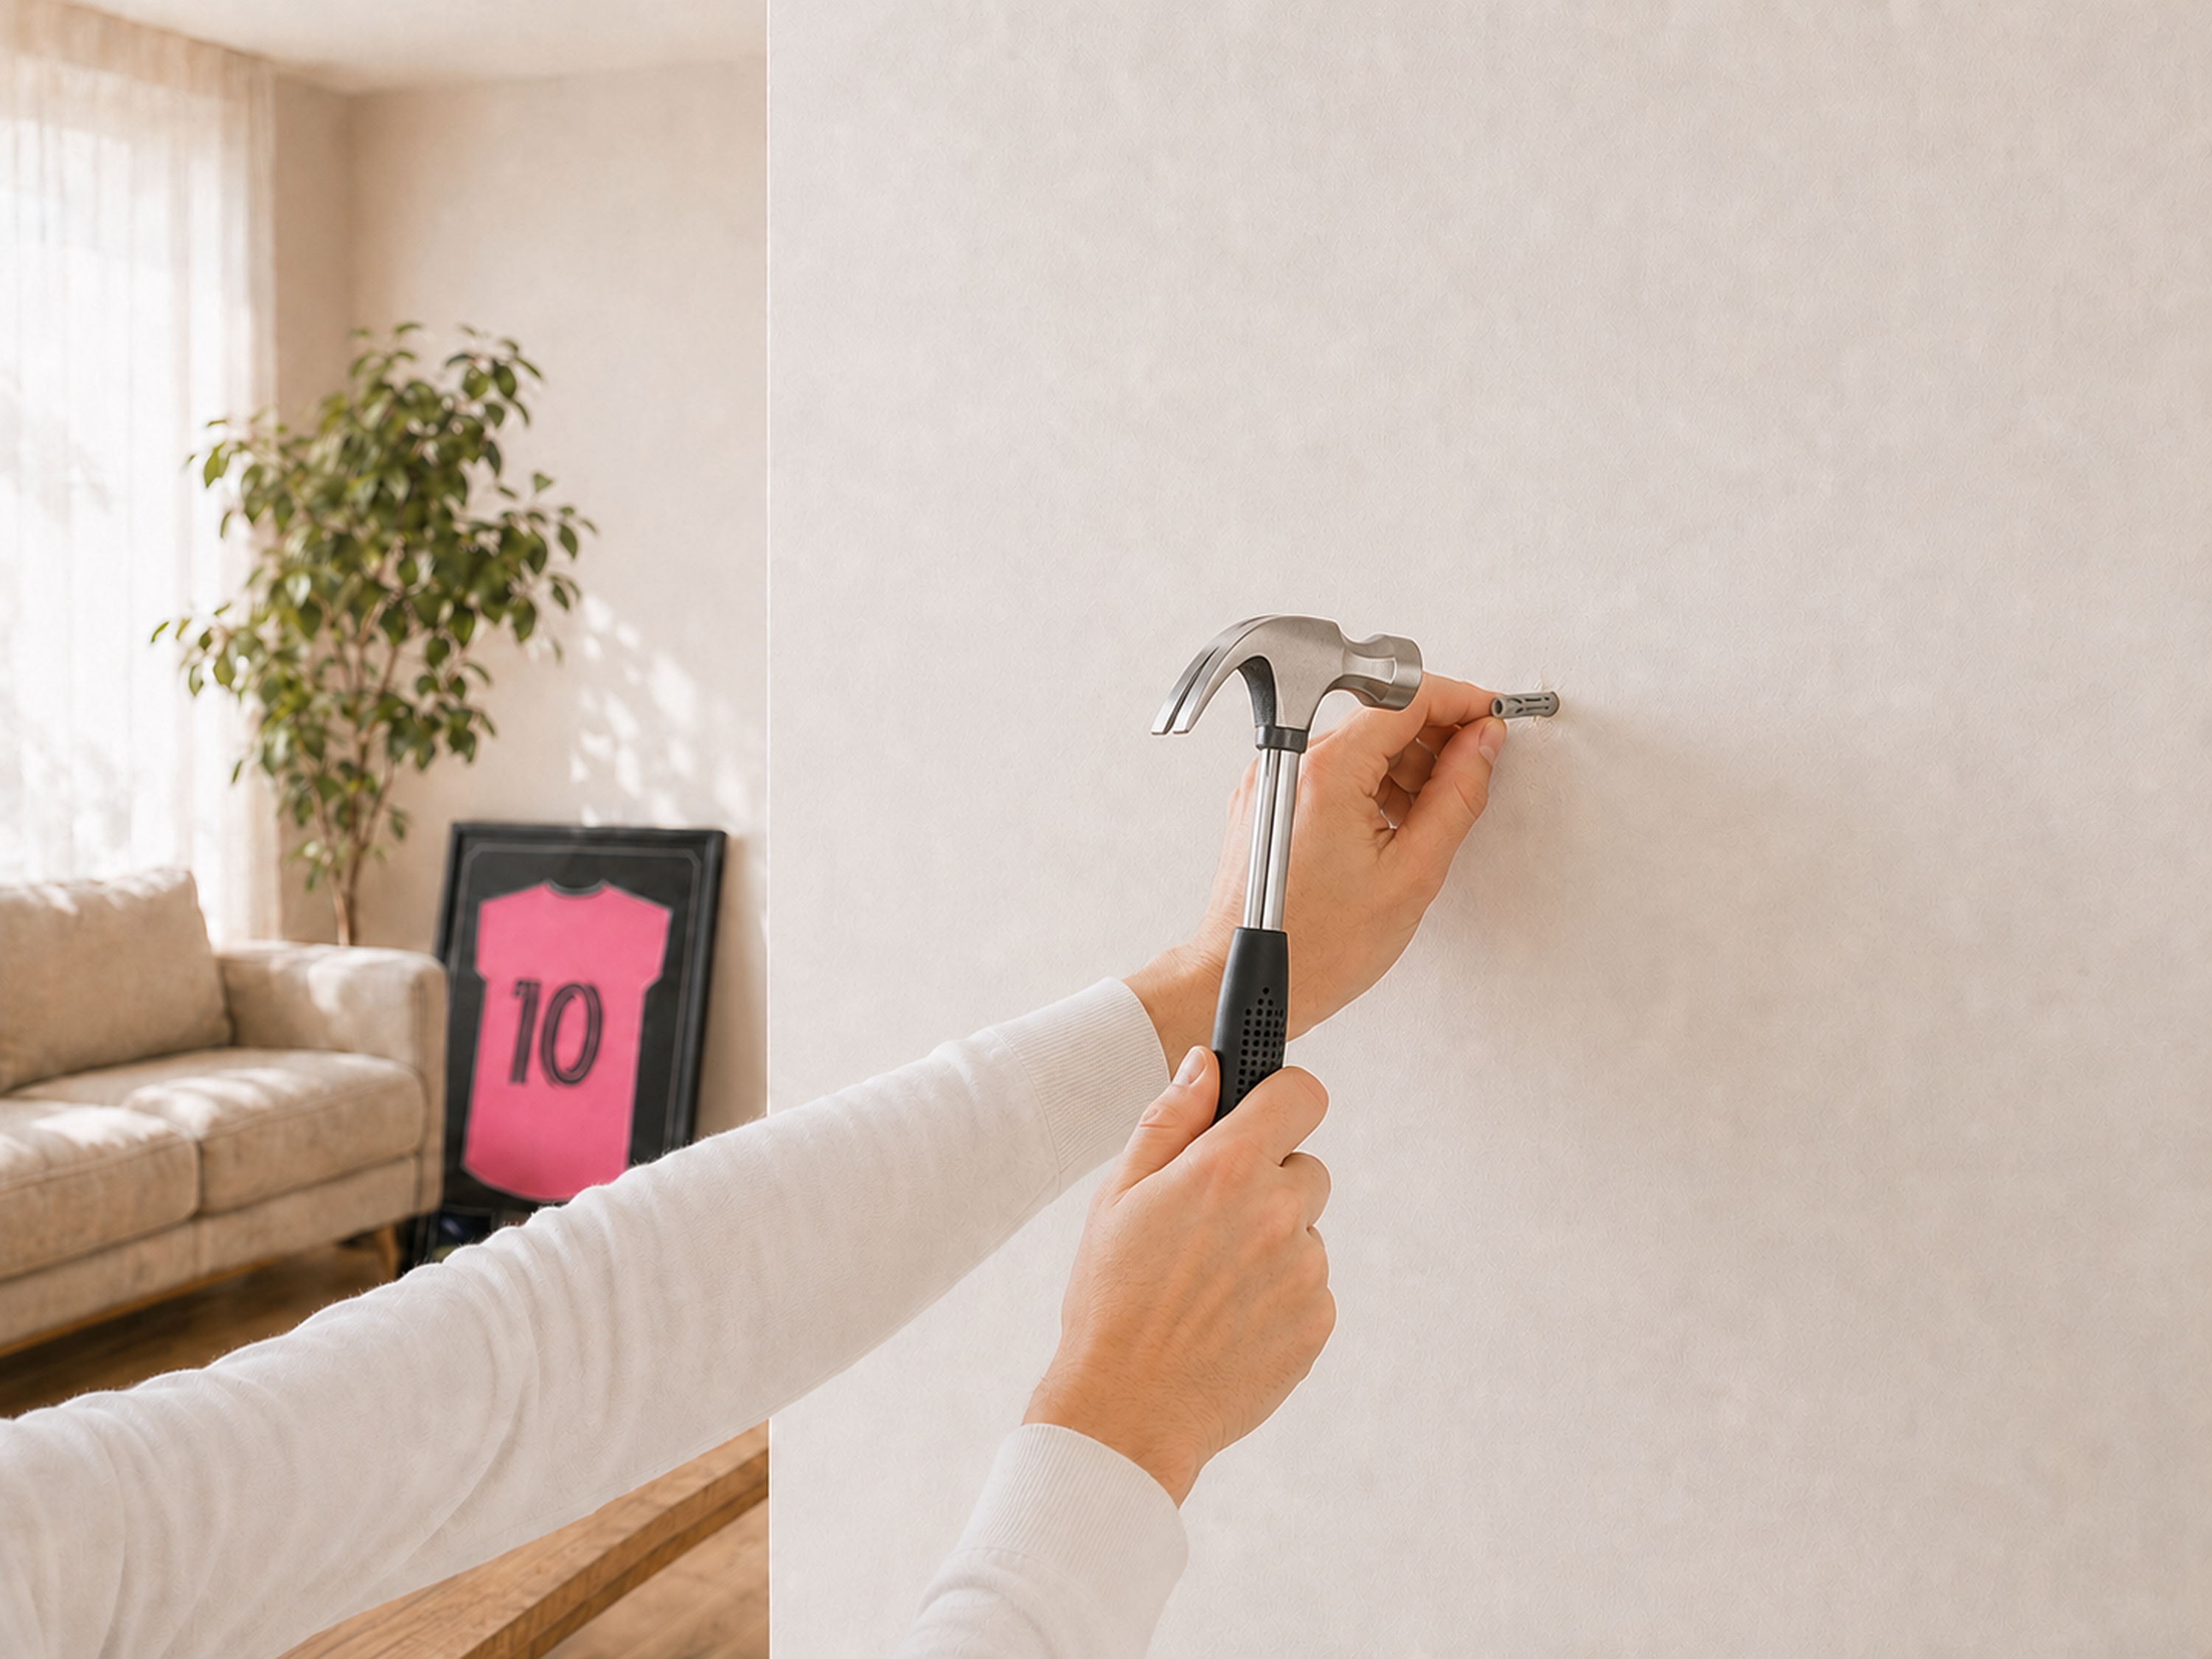
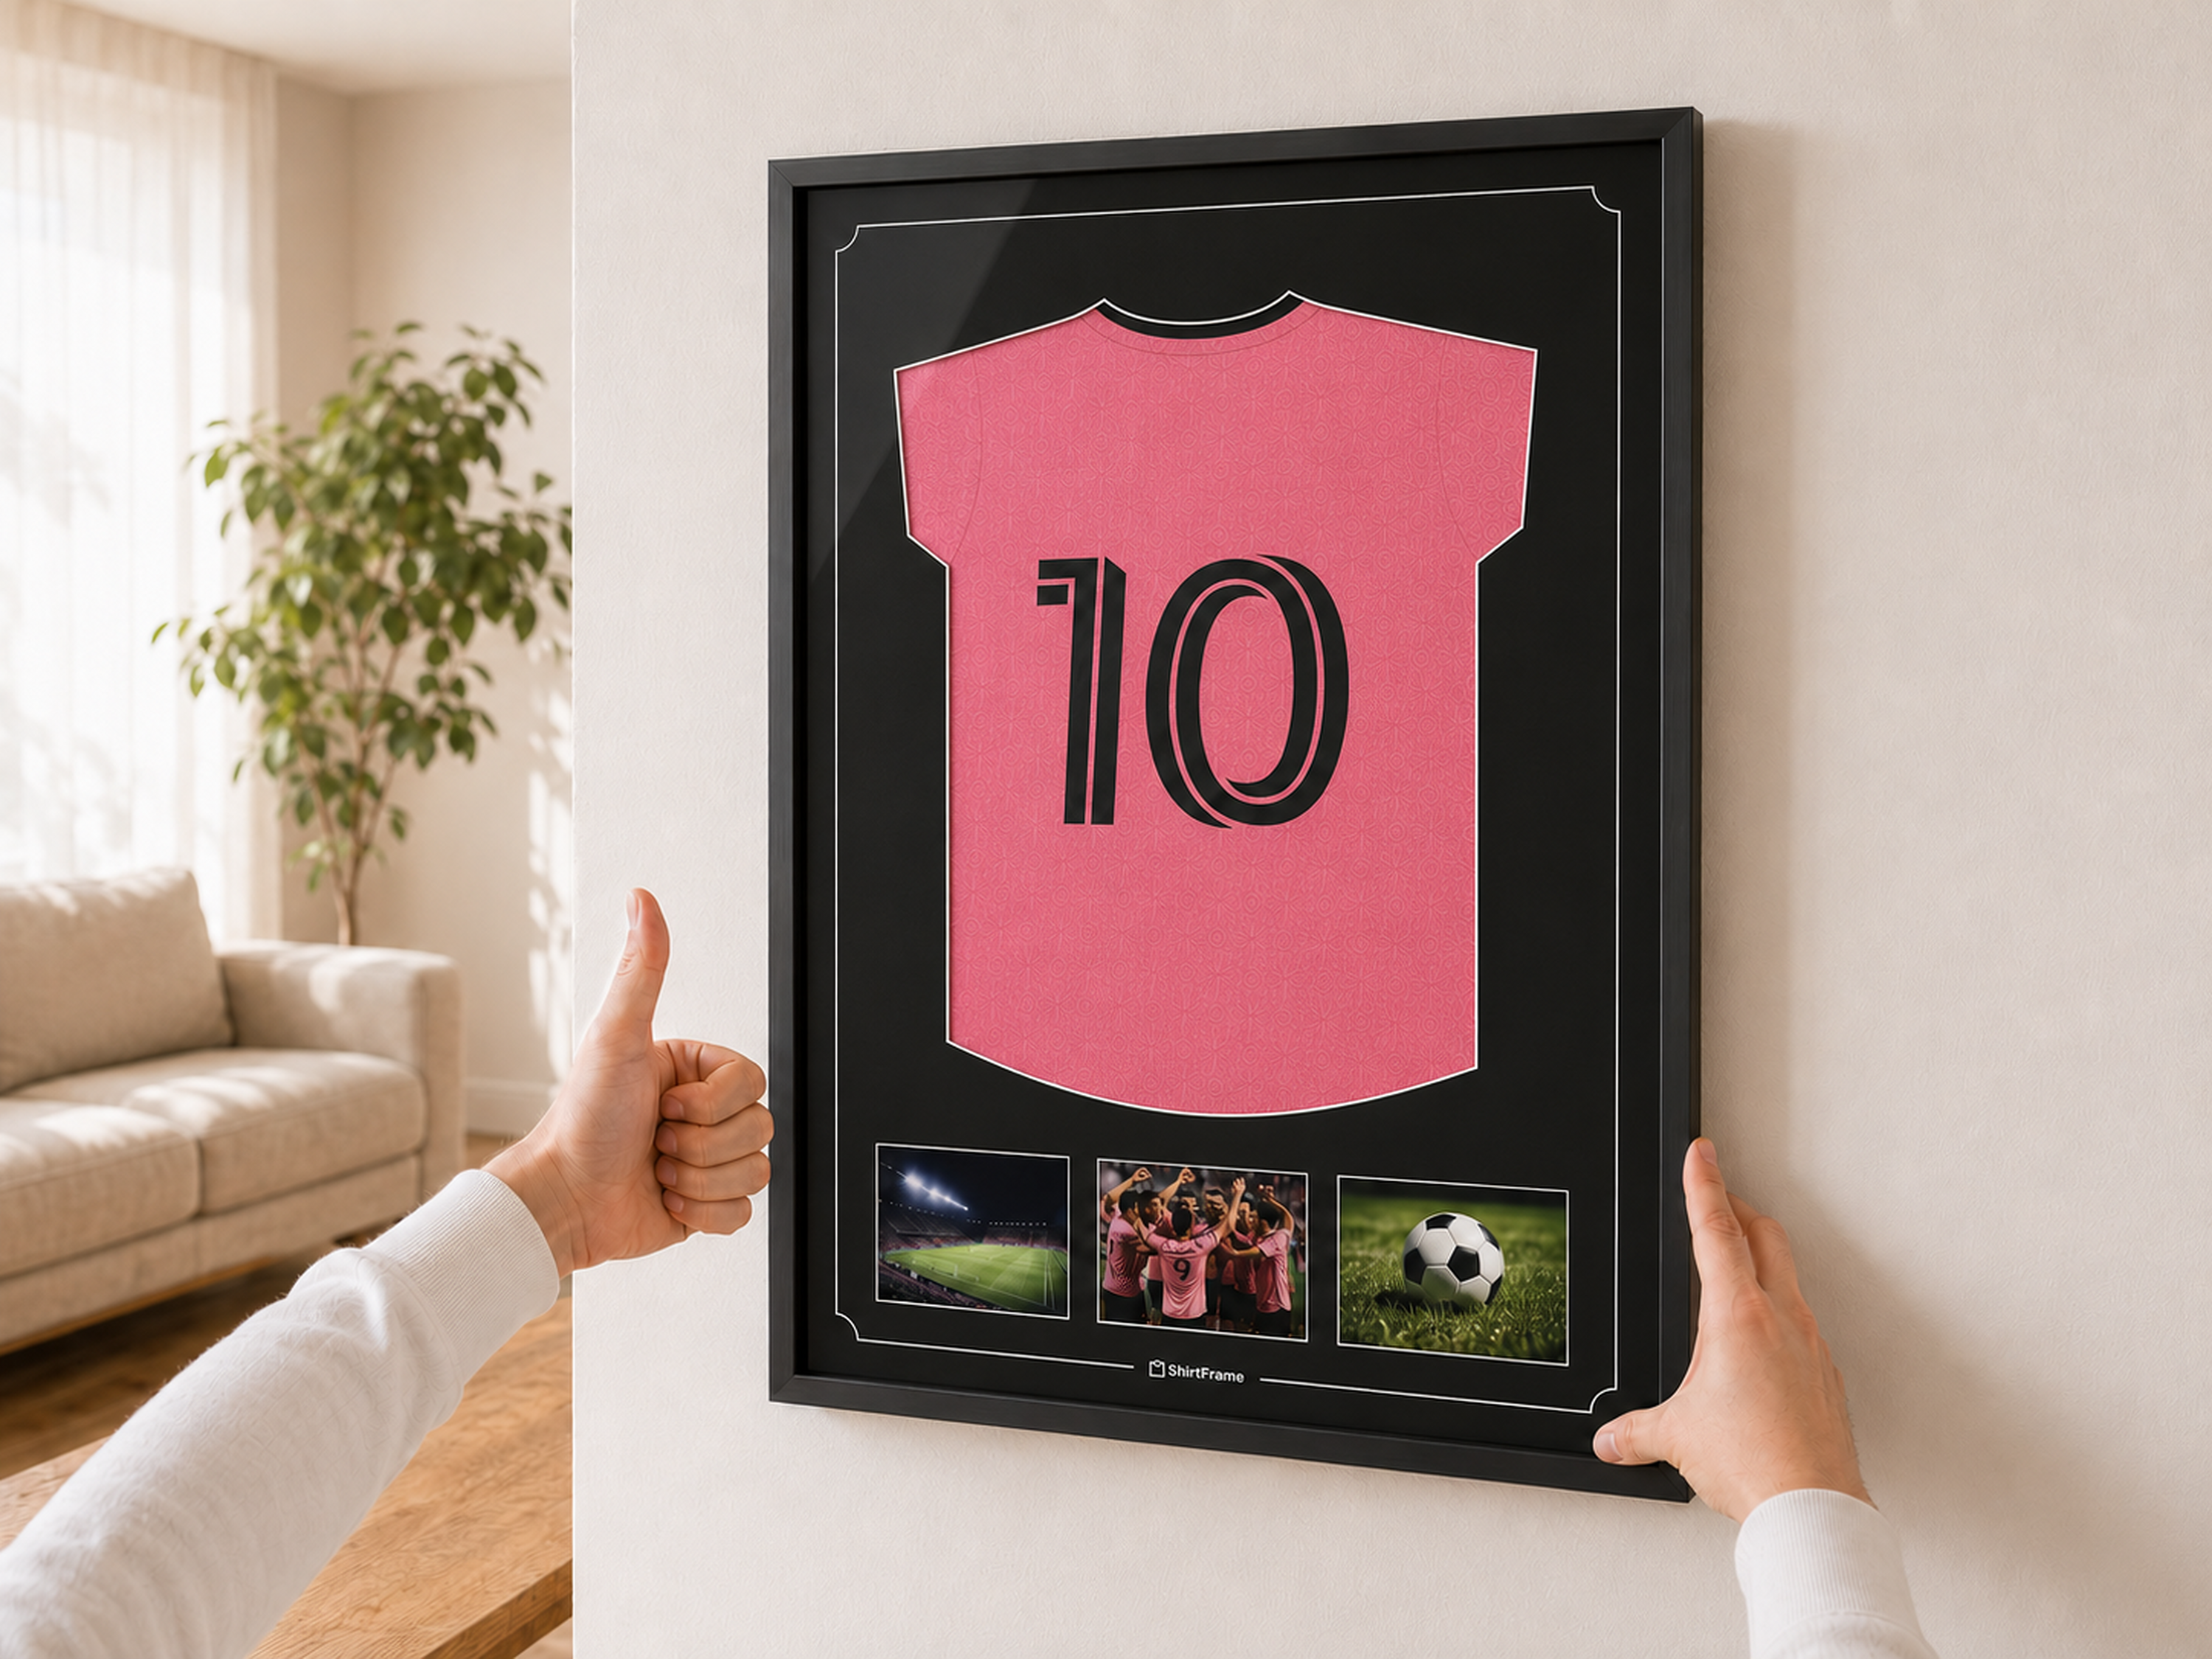
Ready to hang!

Use the included mounting materials and enjoy your perfectly framed shirt.

Using the included wall plug and screw Hanging the ShirtFrame on the wall Framed shirt hanging on the wall

Your opinion matters

Leave a short review – done in 1 minute!

As a thank you, you will receive:

  • €10 cashback on your current order
  • 10% discount on your next order
  • Chance to win a free ShirtFrame when uploading your final result

Submit your review and instantly receive your discount code.

Extra support

Still need help?

Having trouble while framing your shirt? No problem at all. Feel free to contact us. We’re happy to help, so your shirt will look perfectly framed in the end.